First Ouvvi Project Walkthrough
The first Ouvvi project to try will be to upload local connections into the Ouvvi connection library, create a project, add two Data Sync steps: create a new simple Data Sync project and upload an existing Data Sync project. Run the whole project, and view the results.
This should help to give you an overview of where the main components of Ouvvi can be found and allow you to keep creating and adding to projects.
Before getting started please ensure you have run through the installation guide, you can browse to your site and your Ouvvi services are running.
To create a project in Ouvvi the basic steps are:
- Create the empty project in Ouvvi
- Upload any existing connections from the local library to the Ouvvi library
- Add the steps you need to run in sequence
- Configure each step with the necessary parameters
- Check that the project runs without errors
- Attach a trigger to run at a specified time
Create a Project
To get started browse to your Ouvvi site and click onto Projects. Then select New from the sub-menu.

This will open the new project configuration page where you need to enter in a name for the project and you can add an optional description to help other users know what this project does.
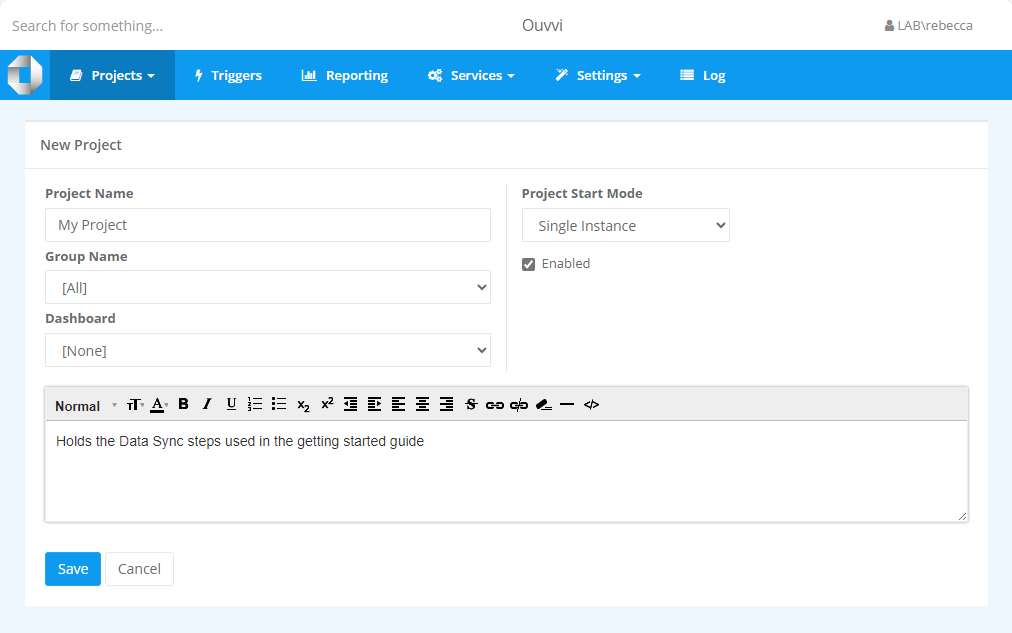
Once you are done click Save to create it.
Upload Existing Connections
We can now upload any existing connections from the local Data Sync connection library into Ouvvi so that they can be used in projects going forward.
Doing this also means that if we upload a Data Sync project into Ouvvi from the local file system, so long as the connection has been uploaded into Ouvvi and still has the same name the project will be able to use the same connections without needing to be re-configured.
To upload a connection open the settings menu and select Connection Library from the list. Then click onto Upload Connection in the sub-menu.

This will open a popup window where you need to click onto Choose File and browse to the Data Sync connection library. By default the path is C:\ProgramData\Simego\DataSyncStudio60\Registry. Select the connection you want to upload and click OK and then Save. This will upload the connection into the Ouvvi connection library.

Please note that this is separate from your local connection library, so if you make a change to the connection locally it will not be updated into Ouvvi unless you re-upload the connection.
Add a Step
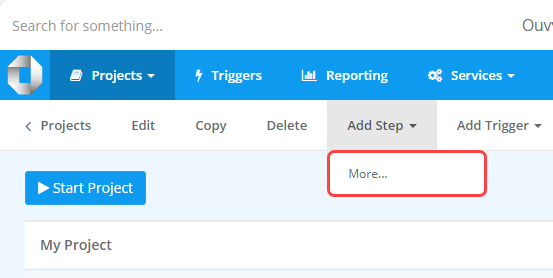
We then need to add a step to be run in our project. Start by navigating to your project, select Add Step, and then More....
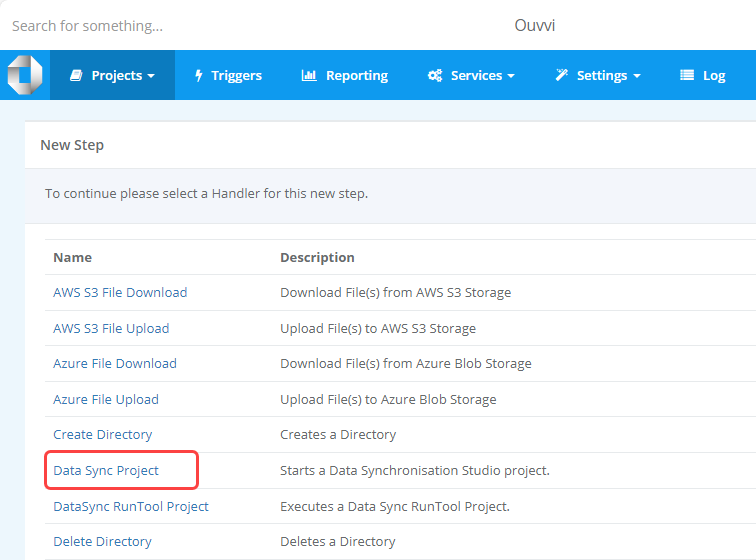
In this example we're going to add two Data Sync steps: one new and one pre-configured. To add a Data Sync step select Data Sync Project from the step handler list.
Upload an Existing Data Sync Project
To upload an existing Data Sync project from the file system start by entering in a name for the step e.g. SQL to SharePoint, an optional description and change any of the default configuration settings such as the retry count or run condition. If you leave the name field blank, Ouvvi will use the file name as the step name.
By default the retry count is 2, but you can change this to be 0 so that it only try's to run once. The run condition determines if the step should run based on the result of the previous step i.e. On success, on failure, when there are data changes etc.
To upload the existing project select the Choose File button and browse to the Data Sync project in your local file system.
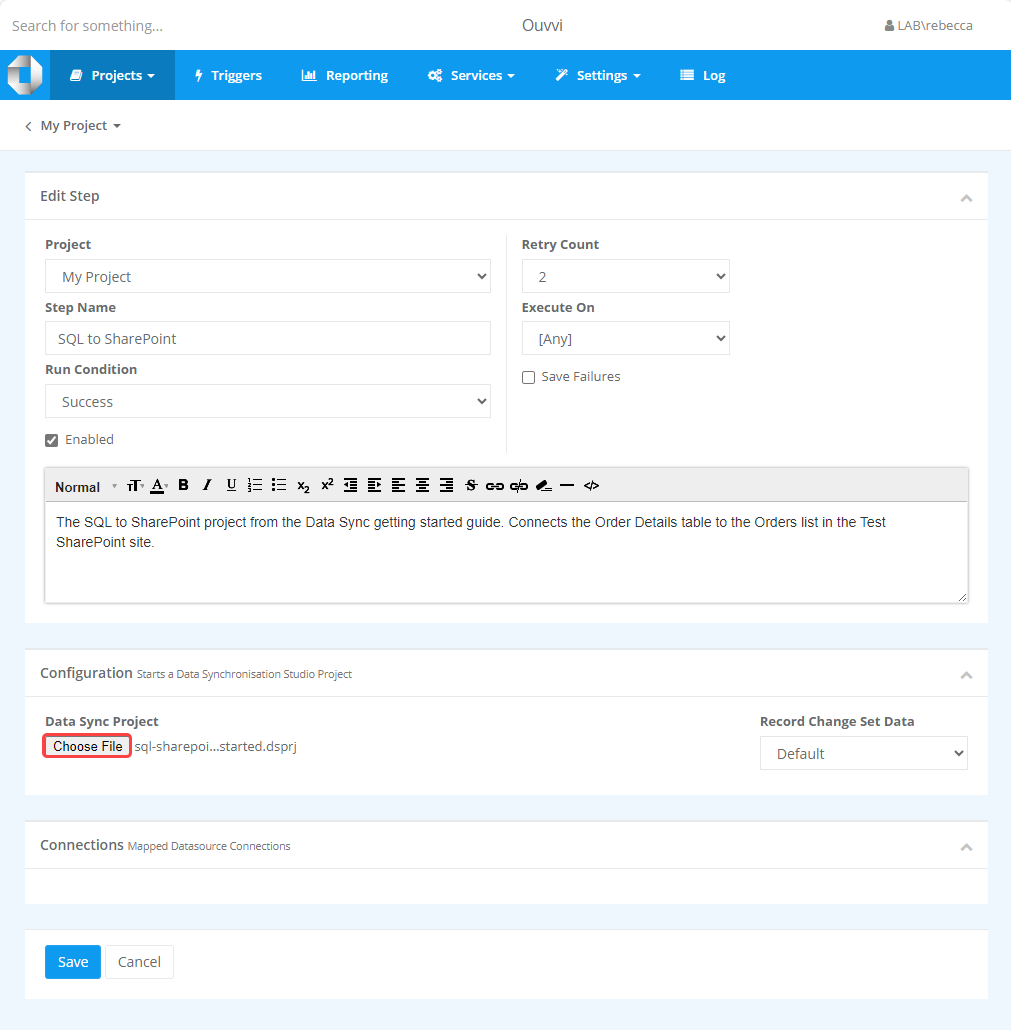
Once you are done click Save to add the step. This will upload a copy of the local Data Sync file into the Ouvvi database. Note that if you make any changes in the project either locally or in Ouvvi they will not be reflected in the corresponding file as the two are now stored separately.
Configure a New Data Sync Project
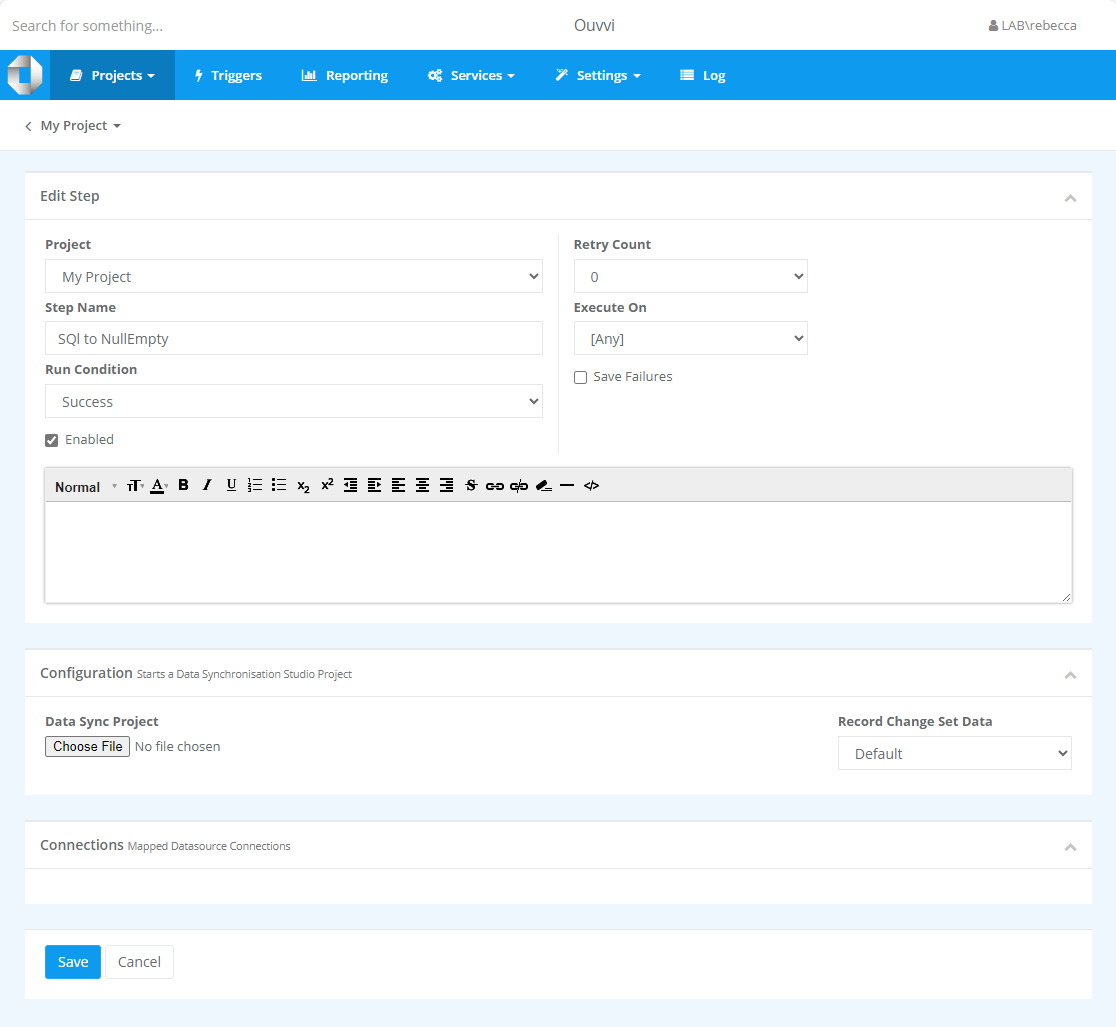
To create a new Data Sync step enter in a name for the step e.g. SQL to NullEmpty, an optional description and change any of the default configuration settings such as the retry count or run condition. Then click Save to create the empty Data Sync step.
By default the retry count is 2, but you can change this to be 0 so that it only try's to run once. The run condition determines if the step should run based on the result of the previous step i.e. On success, on failure, when there are data changes etc.
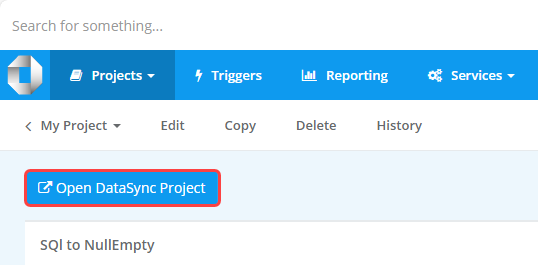
We now need to configure the Data Sync project by opening it into Data Sync. As we are already in Ouvvi the easiest way is to click Open in Data Sync. If you were in Data Sync and needed to modify a step in Ouvvi you can do so by connecting to your Ouvvi site, you can read more on how to do this here.
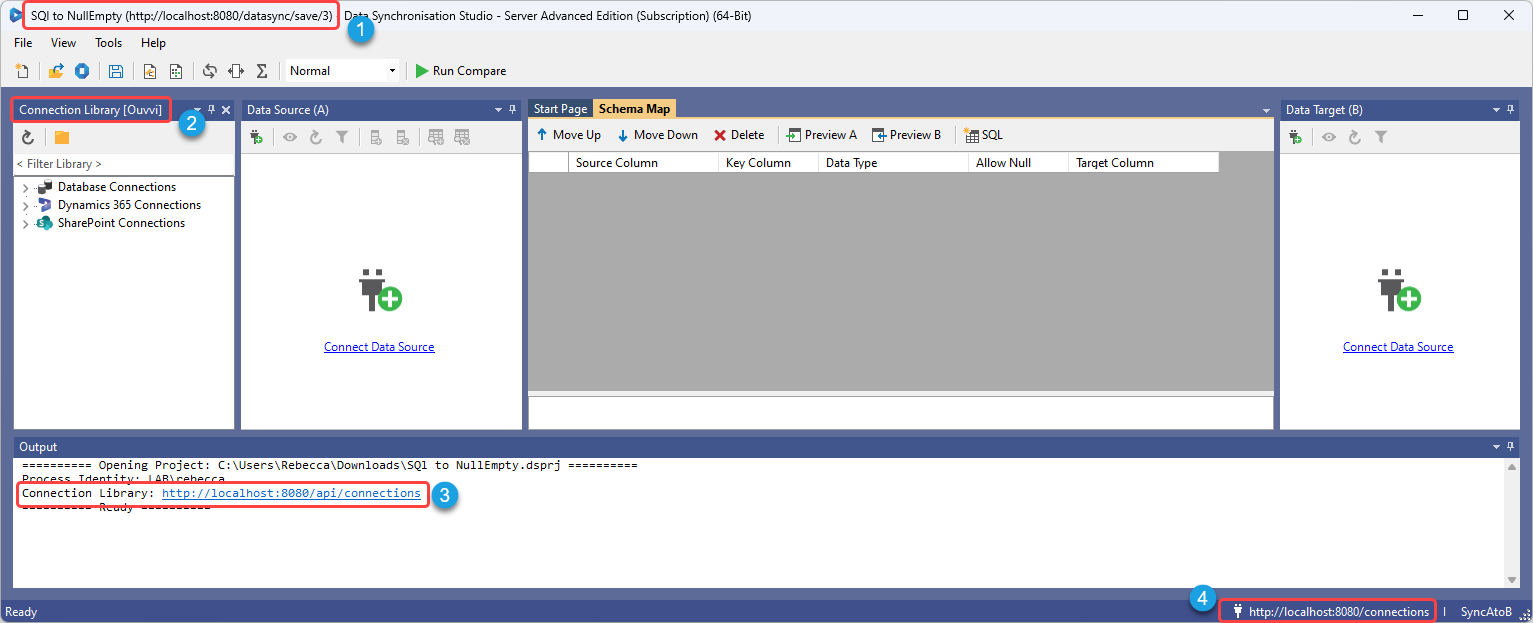
You can tell the project is connected to Ouvvi in four places:
- The title bar will show the Ouvvi URL
- The connection library window will have [Ouvvi] at the end of the title
- The output window will show the Ouvvi URL for the connection library connection
- The registry location will be the Ouvvi site URL
Then connect to your source and target datasets. In this case we have a simple SQL table to a Null/Empty Data source so that data is always being added.
Check the Project Runs
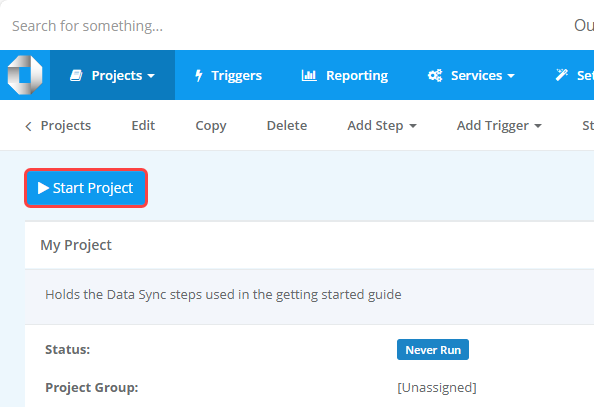
Now that the steps have been added we need to check that the whole project runs without any errors. Click onto the Start button in the top left of the project page to run it.
If everything is successful you will see a green success next to the log entry at the bottom of the page. If there were errors you will see Failure next to the log entry.
Check the Logs
To check the log instance for a specific run, click onto the entry id to open the log page. Alterntaively you can click onto the Last Run DateTime to open the log page,
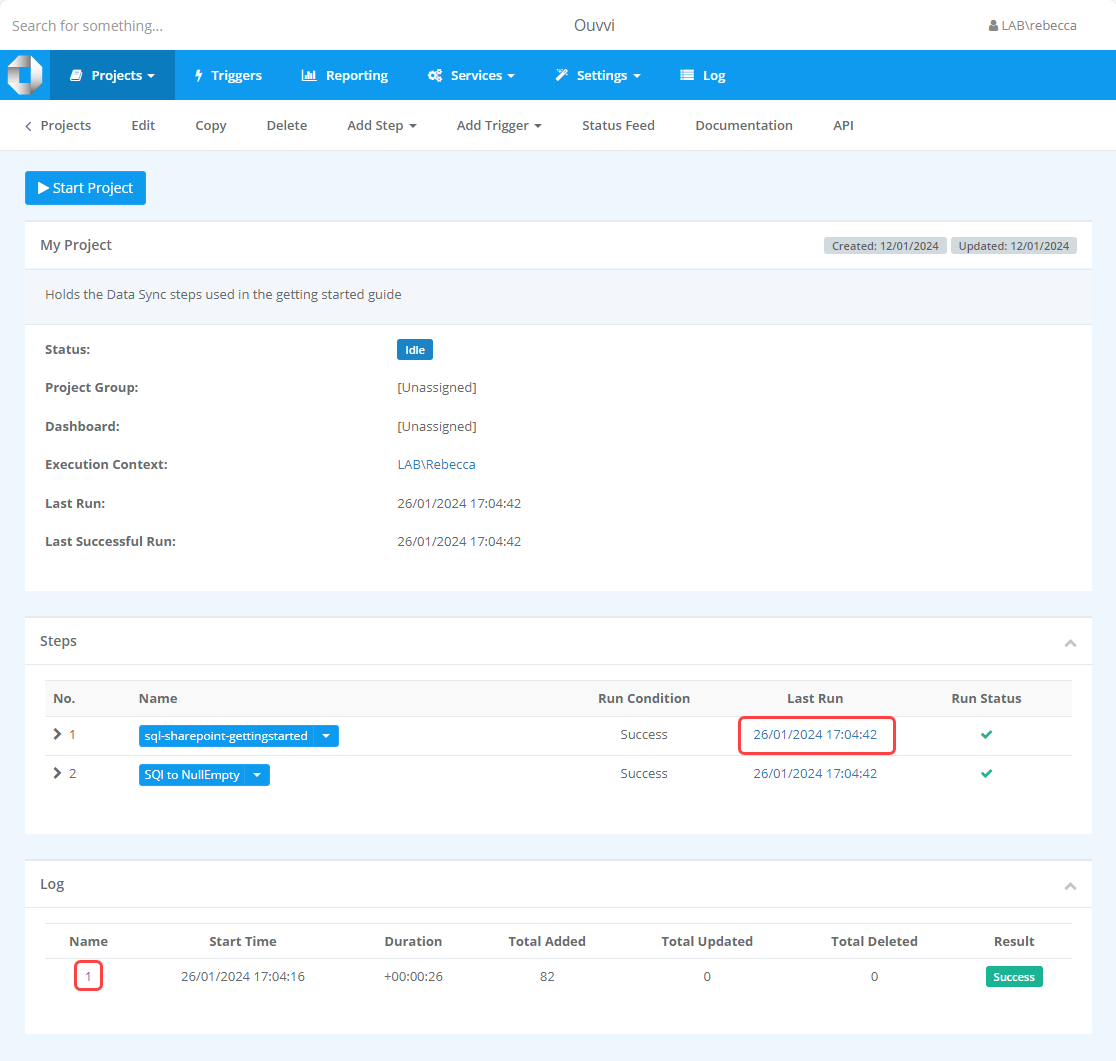
This will show you the full log entries for the project and the statistics. Such as the time it took to run, the number of records added, updated or deleted etc.
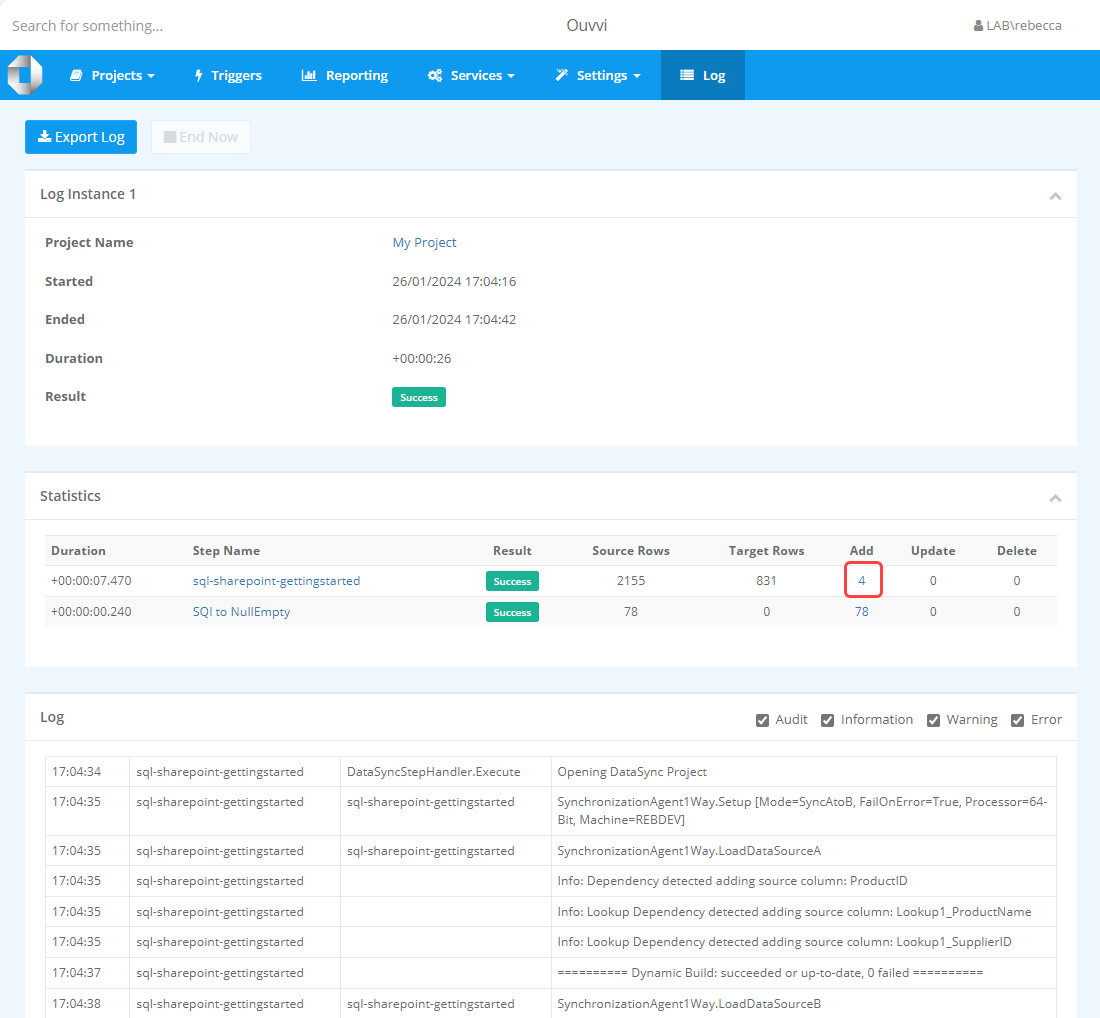
If change set data is enabled, then you will be able to preview the data that was changed within this run by clicking onto the numbers under hte Add, Update and Delete headings.
By default Change Sets are disabled, however you can change this either for the whole system or on a step specific basis. Change sets can only be recorded on Data Sync steps and not other step types.
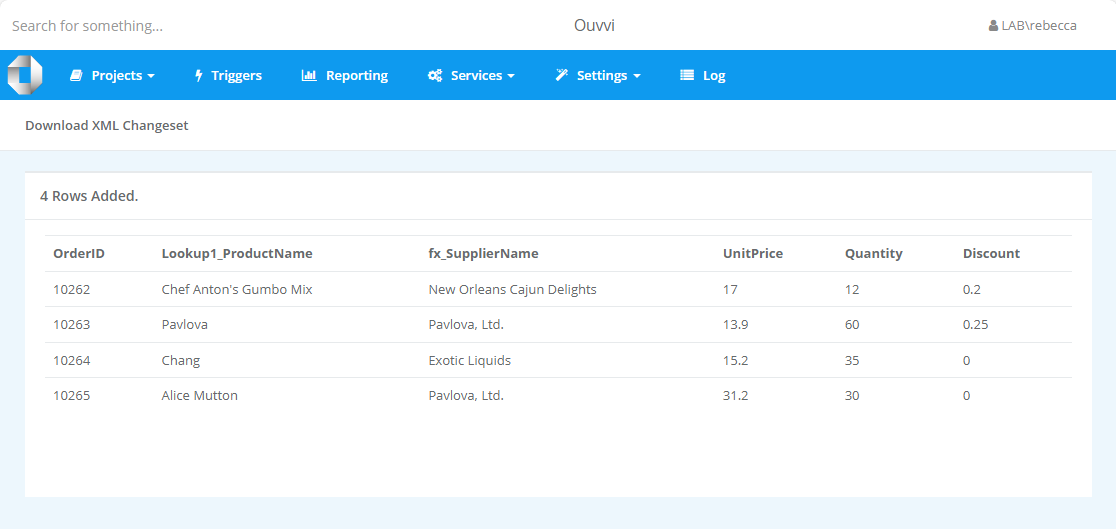
To view the changes, click onto a number in the statistics table. E.g. in this example we will view the 4 additions in the first project. This will then open a new tab where you can view the results.
Attach a Trigger to Schedule
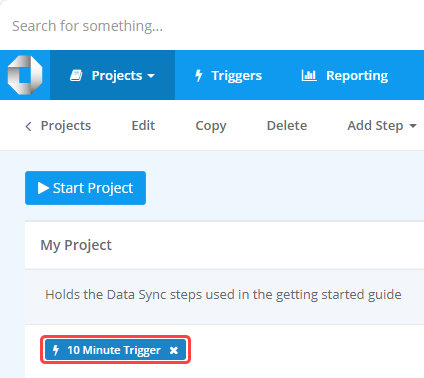
Now that we know the project runs without errors we can attach a trigger to run it on a schedule. For this example we will use a default trigger of 10 minutes so that the project runs every 10 minutes.
To learn about creating different triggers please see our Trigger Documentation
To add the trigger, make sure you are on the project overview page and select Add Trigger from the submenu. Then select 10 Minutes from the list and the trigger will be applied to your project.
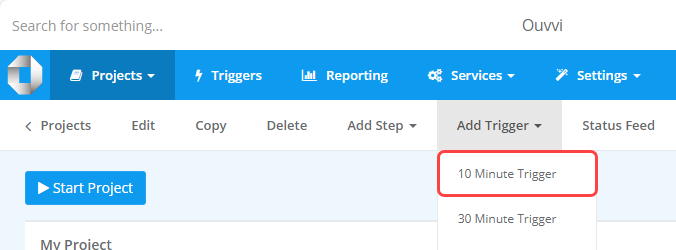
This will now run at 10 minute intervals so long as the Ouvvi services are running.
