Encryption
Adding encryption to your Data Sync projects helps ensure the confidentiality and security of your project connection details. This is especially important if you are working with sensitive data or in a production environment.
Encryption helps to protect your data from unauthorized access or interception by encrypting it using a unique key. Only users with the correct key can decrypt and access the data, which helps to keep your data safe.
Additionally, by encrypting your connection details, you can prevent them from being exposed in plain text within your project files, which helps to protect them from potential attackers.
What kind of encryption does Data Sync use?
Data Sync uses industry-standard encryption algorithms to ensure the security of your data. When you create a new encryption key, Data Sync generates a unique key and a self-signed X509 certificate that is used to encrypt and decrypt your data.
This means that your data is protected by a strong encryption algorithm and a unique key that only you have access to. This helps to ensure that your data is secure and protected from unauthorized access.
Managing Encryption Keys in Data Sync
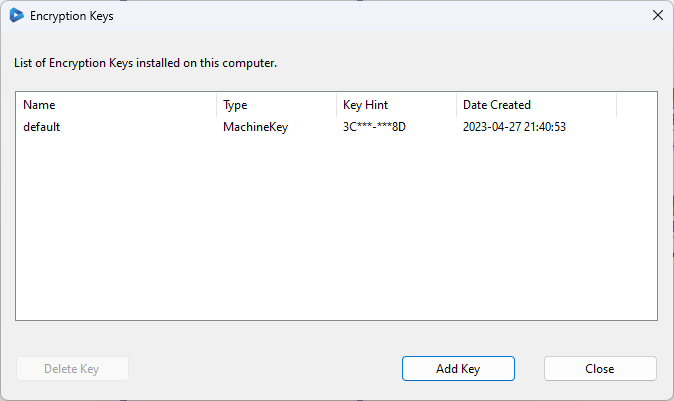
To manage your encryption keys in Data Sync, you can use the Encryption Keys window. To access this open the Tools menu and select Encryption Keys
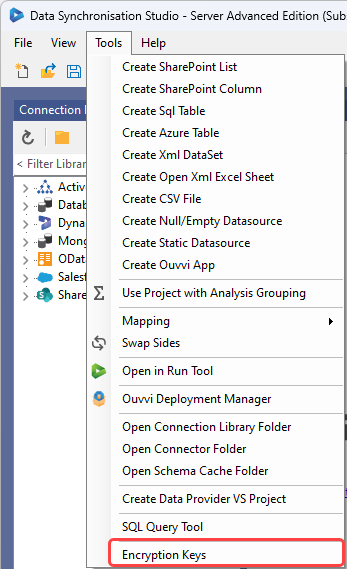
Here you can view all of the encryption keys that you have added to Data Sync, as well as generate new keys, install keys on your machine, and delete keys that are no longer needed.
To delete a key simply select the key to be removed and click the Delete button.
Create a New Encryption
To create a new encryption key open the encryption key window from the tools menu by selecting Encryption Keys. Then click onto the Add Key button to start creating a new key.
Here we can generate a new certificate and an encryption key by clicking on the corresponding buttons.
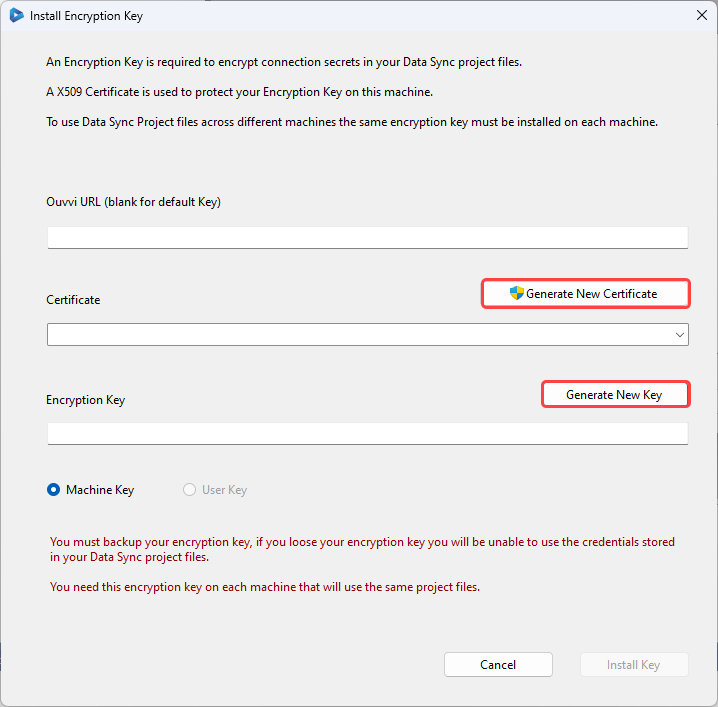
Make sure to take note of your encryption key and keep it in a secure location. If you lose your encryption key, you will be unable to access the connection details stored within your Data Sync project files.
You will also need to add this key on any machines using the encrypted project files.
Once you have generated a certificate and an encryption key you need to click Install Key to add the key to your machine.
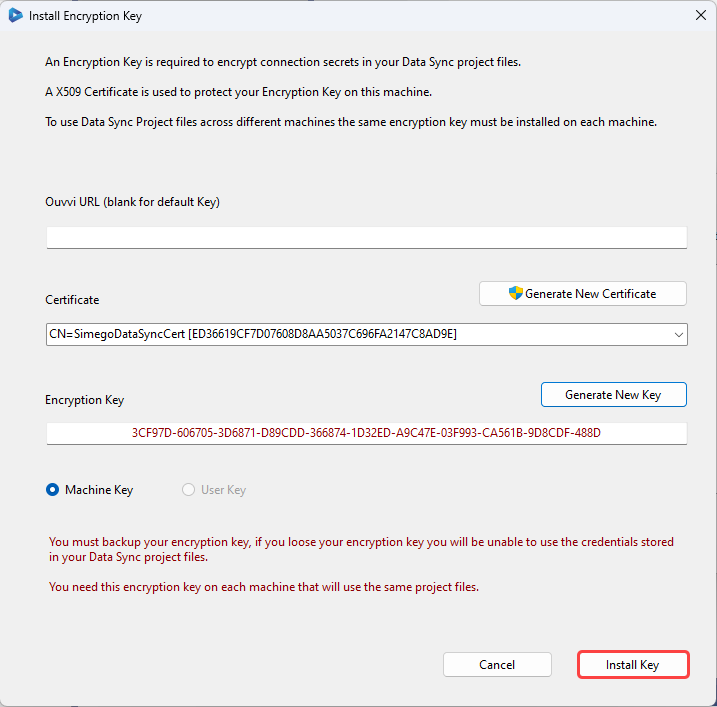
Make sure you have made a note of your encryption key and then click Close to close the window.
The newly created encryption key is now visible in the Encryption Key window.
Troubleshooting
Access Denied
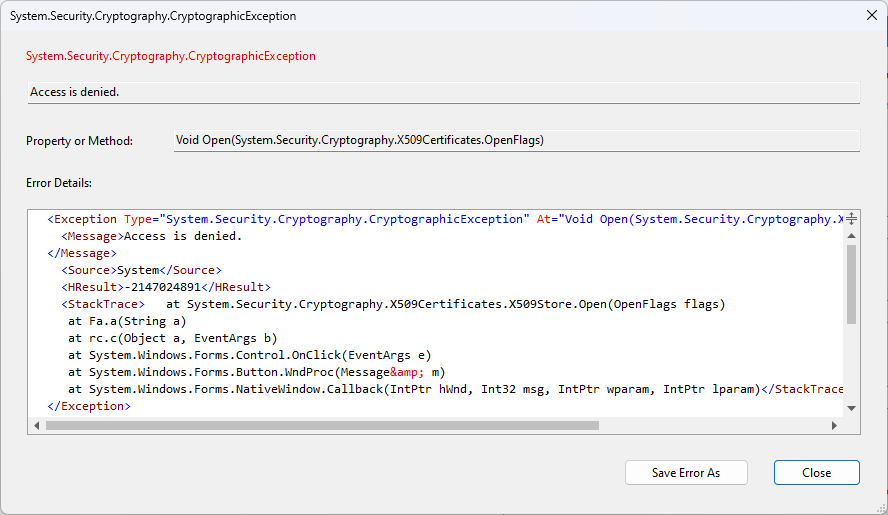
If you get the error message that access is denied when you click onto Generate New Certificate then you will need to close Data Sync and reopen it as an administrator. If you have admin permissions on your machine you can do this by right clicking on the app and choosing Run as Administrator.
Unable to Obtain Private Key
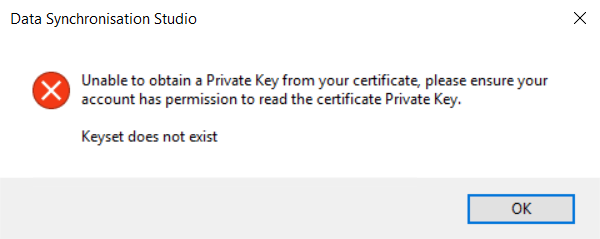
If you get the error message "Unable to obtain a Private Key from your certificate, please ensure your account has permission to read the certificate Private Key. Keyset does not exist" then you will need to follow the below steps to add the user/windows account to the certificate.
This cannot be done with Windows Groups and you will need to use the Windows Certificate Manager.
Open Manage Computer Certificates and locate the certificate. SimegoDataSyncCert is the default however if this has been renamed you will need to find the name it has been changed to.
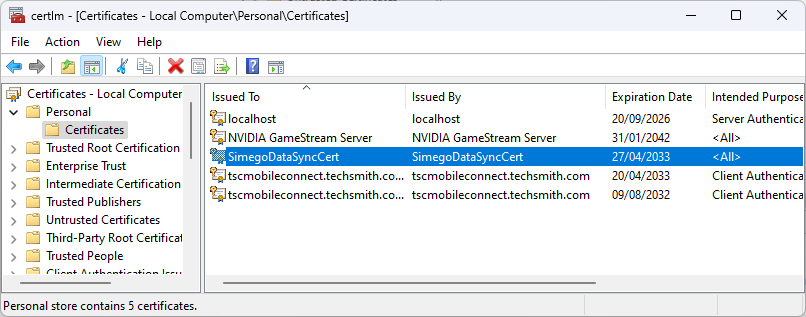
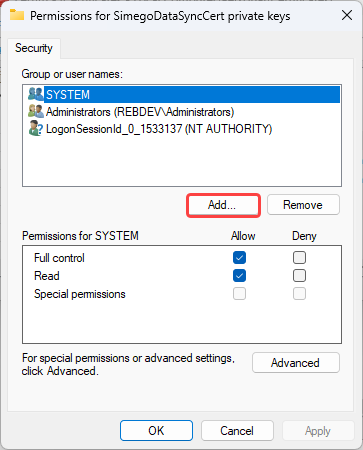
Right click onto the certificate and go to All Tasks > Manage Private Keys, and then add the Windows User Account.
