SharePoint List Data Replication with Ouvvi
Here we're going to cover how you can use Ouvvi and Data Sync to automatically copy list items from one SharePoint site to another when an item is changed in the original SharePoint list.
In this example we are going to take a products list found in the main SharePoint site and copy this to a subsite. We want the project to run each time a change is made in the original list so that the list in the subsite is always kept up to date. For this we are going to make use of Ouvvi and the SharePoint list trigger.
Requirements
Before getting started you will need to ensure that you have the following:
- Windows 10 or Windows Server
- Downloaded & Installed Data Synchronisation Studio
- Have installed Ouvvi Automation Server
- Have access to SharePoint
Create the Project in Ouvvi
To get started browse to your Ouvvi site and create a new project to hold your steps. If you have not yet setup Ouvvi please see our user guide to learn how to get up and running.
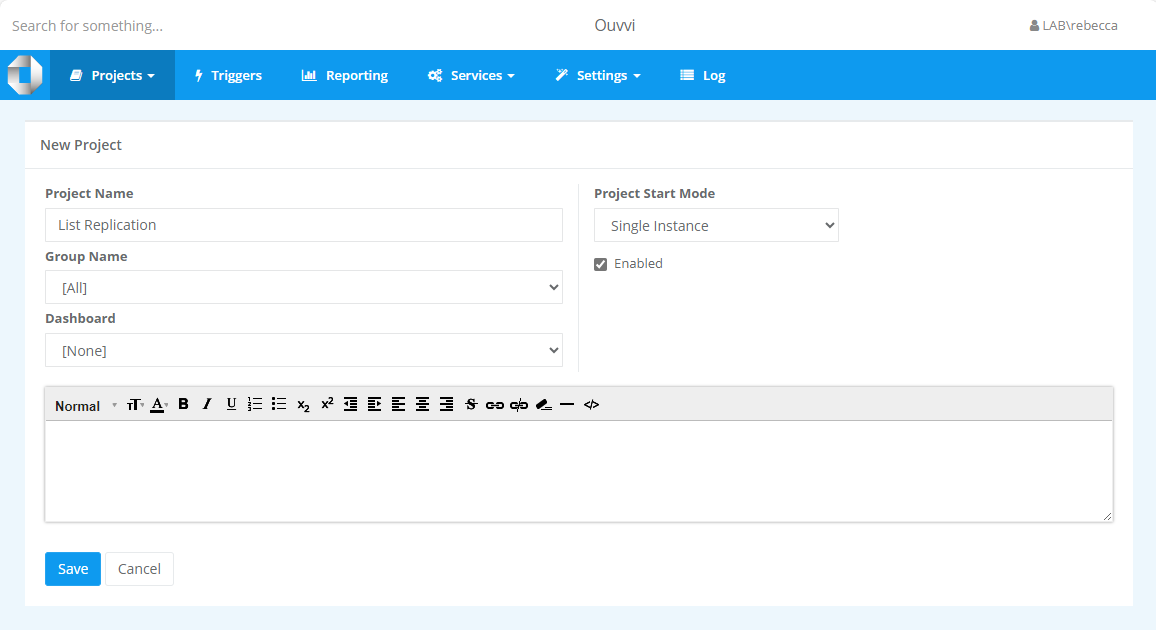
In this example we are creating a project that will copy any items added to the products list from the main Company SharePoint site to a list in a Subsite.
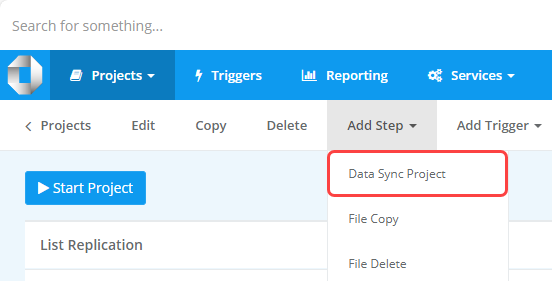
To add a Data Sync step to our project click onto Add Step and select Data Sync Project from the list.
Enter in a name for the step and type in a description to let others know what the project is doing.
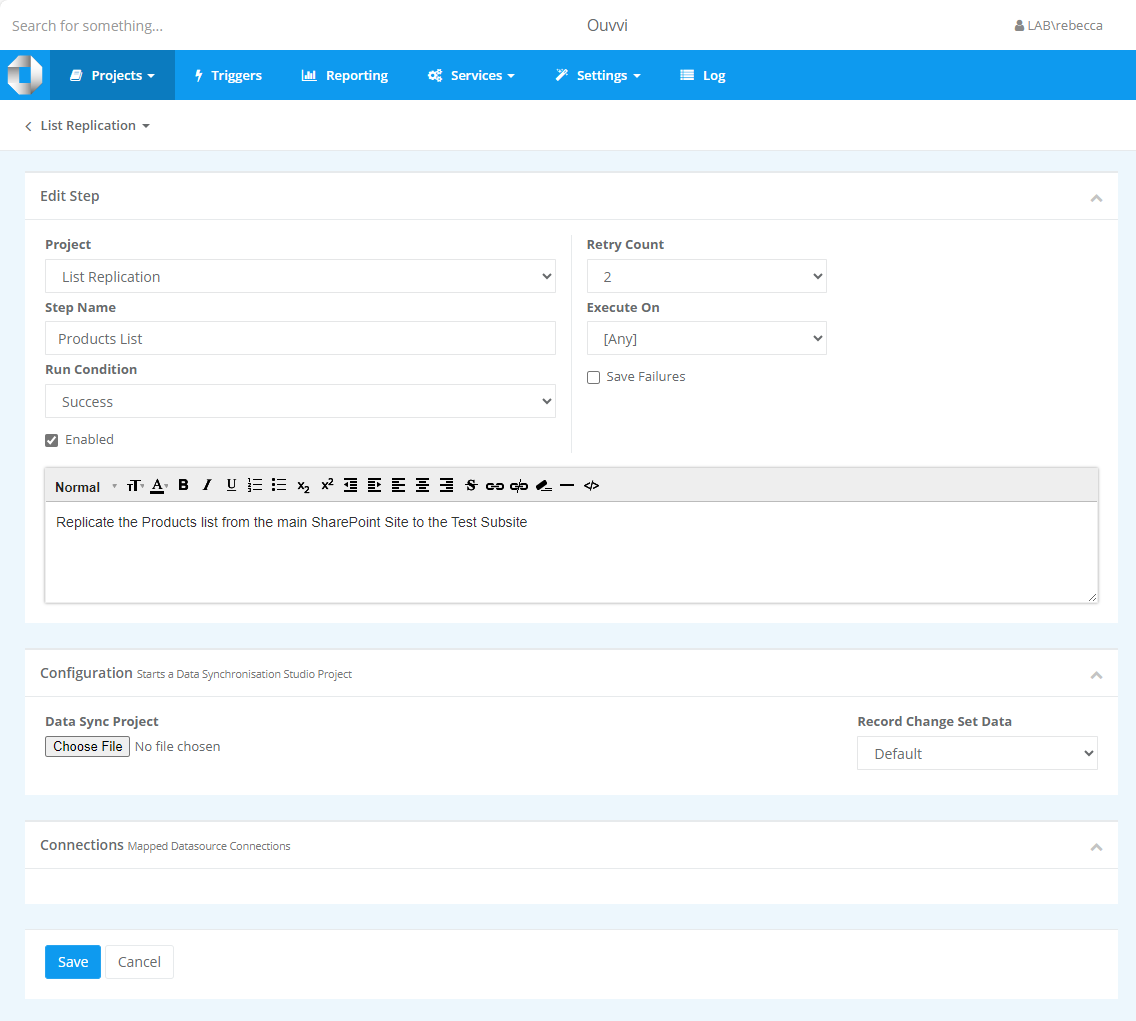
You are now ready to configure the Data Sync step to do the synchronisation.
Connect to your Source and Target
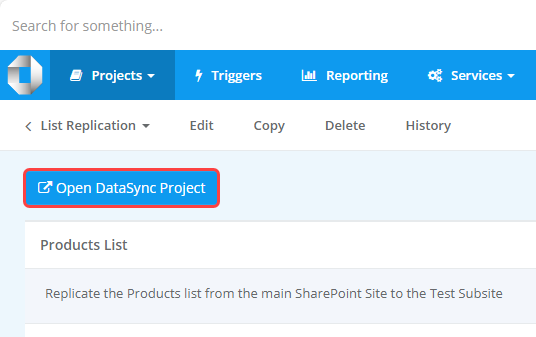
Open the Data Sync project from Ouvvi by clicking onto the Open Project button.
Once Data Sync has opened click Connect Datasource in the source window (Data Source A) to open the connection window.
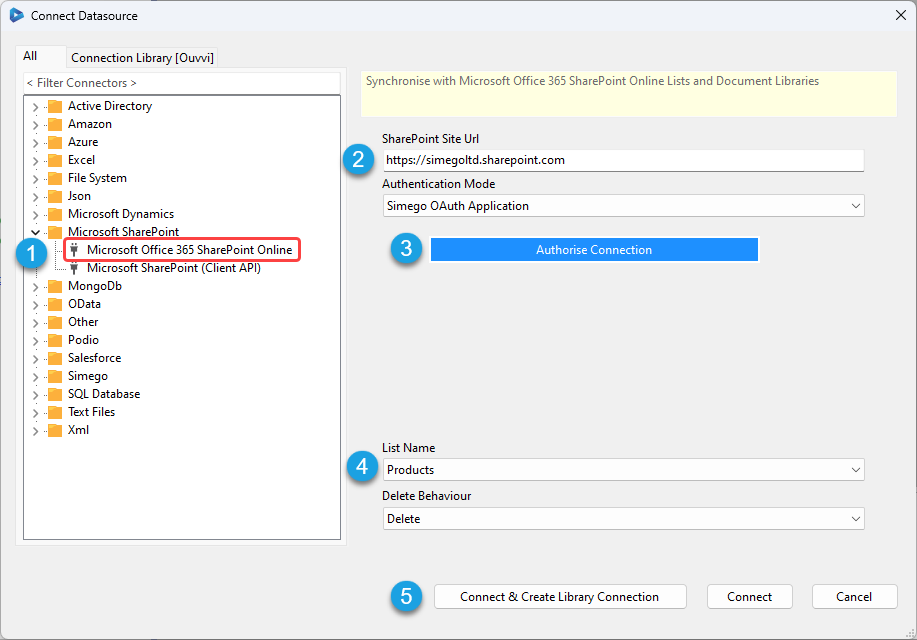
Then locate SharePoint and select the SharePoint Online provider.
Here we need to enter in the URL to the SharePoint site that our list is located in. In this example the list is found in the main site, so our URL will look similar to: https://company.sharepoint.com.
- To connect to a subsite the URL would look similar to:
https://company.sharepoint.com/subsite - To connect to a subsite of a subsite the URL would look similar to:
https://company.sharepoint.com/subsite/subsite2
Click onto the Authorize Connection button and follow the on screen instructions sign in to SharePoint and authorise the connection. The full detailed connection details can be seen in our documentation here.
We can now select the Products list from the dropdown, set the delete behaviour, and click Connect & Create Library COnnection to save the connection to the connection library.
When prompted enter in a name for the connection and click OK. This will add a connection to your SharePoint site in the connection library so that you can quickly access all the lists and libraries in the future.
You only need to save the connection to the site once, as you can access all the lists and libraries contained within the SharePoint site.
As this project is connected to Ouvvi it will be stored in the Ouvvi Connection Library and accessible to any Data Sync project opened from this Ouvvi site.
Repeat this for the target window (Data Source B) and make sure to connect to the correct subsite and list for where you want the data to end up.
Check the Mapping and Compare
Before moving on we need to check that the schema map contains the columns we want to synchronise and that they match up to the corresponding column in the target list.
We also need to ensure that a key column has been selected, this needs to be unique and able to identify each record. In this example we use the ProductID.
Remember you cannot write to the SharePoint ID column so you will need to use a different column as the key column.

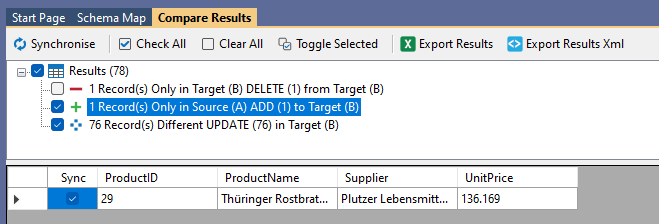
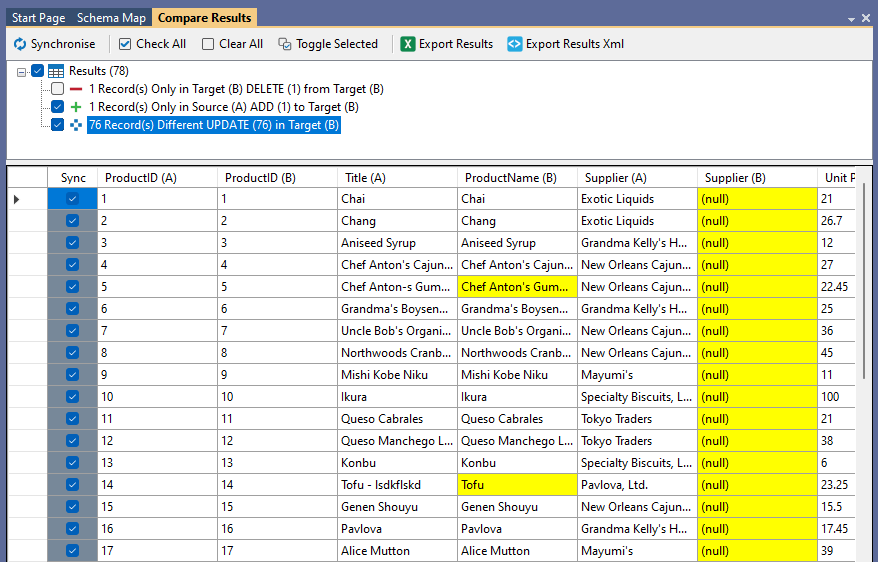
It is a good idea to run the compare to make sure everything presents as it should. Here we can see there is 1 item to add, 76 to update, and 1 to delete.
Deletes are disabled by default so that the project cannot accidentally remove records. So the single record marked as a deletion will not be removed, unless deletes are enabled.
You can now run the sync to make sure there are no errors or you can wait and run the sync from Ouvvi. In this example we will run the sync later on from Ouvvi.
Make sure to save the project back to Ouvvi by clicking onto the Save button, and then close Data Sync and navigate back to your Ouvvi site.
Configure the Trigger
To configure it so that the project will run whenever an item is added or changed in the source list we need to add a trigger to the project.
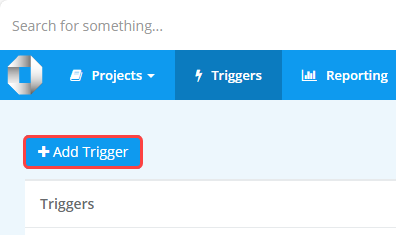
Go to Triggers > Add Trigger and select SharePoint List trigger from the list.
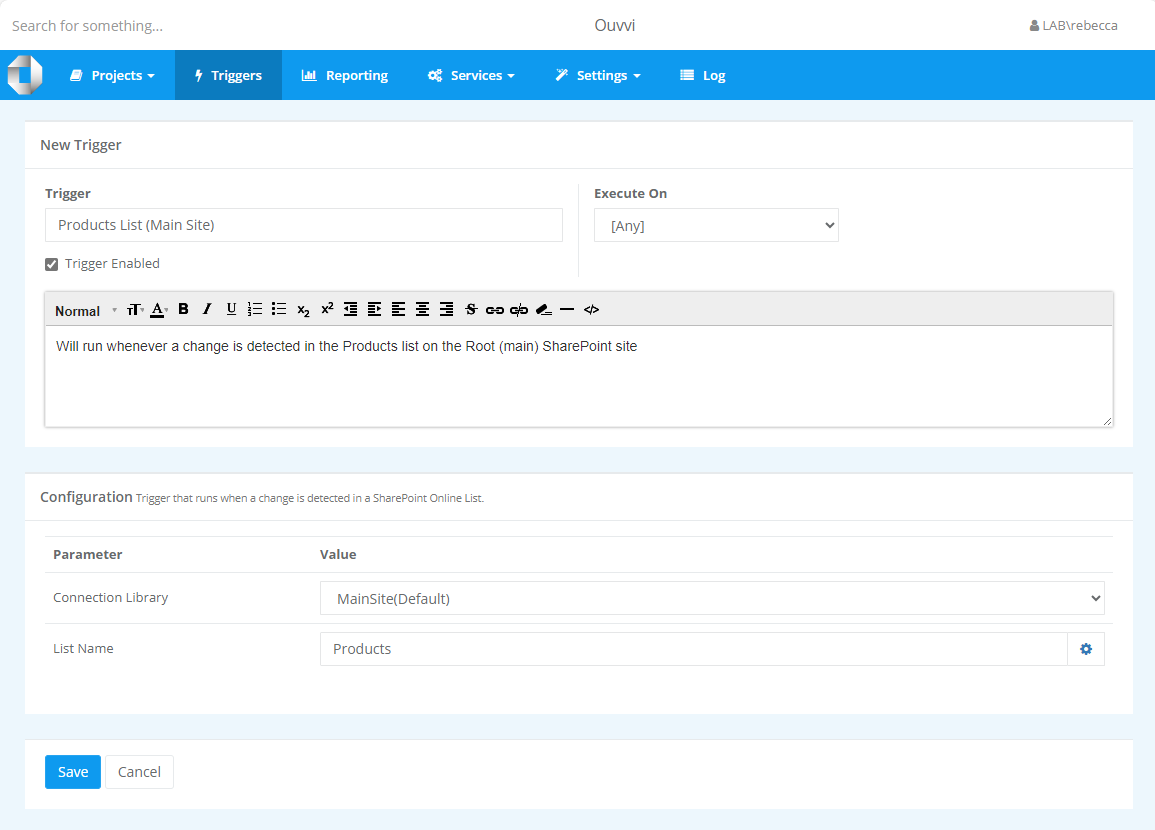
Enter in a name for the trigger so that it can be identified in the future. You can also add a description to let others know what it will do.
As we previously saved the connection to the connection library we can simply select the connection to the root site from the dropdown for the Connection Library field. Then enter in the name of the list to watch into the List name field, in this case Products, and click Save to create the new trigger.
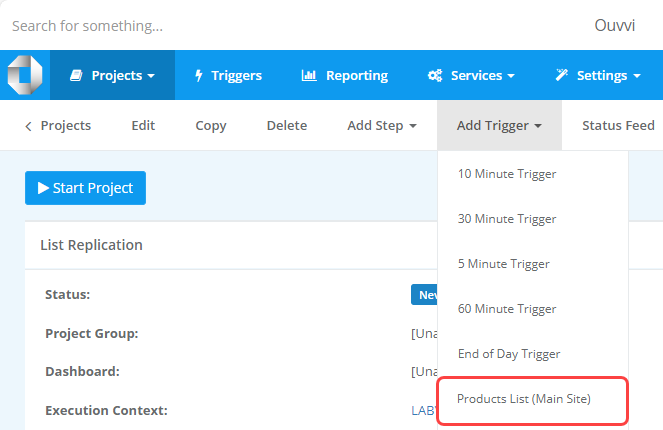
We can now navigate back to the list replication project and go to Add Trigger and select the new trigger. This will apply it to the list replication project and now if anything is changed in that list the project will run.
Run the Project
You may want to add additional steps to the project, such as a Project Status Report step to send you an email whenever the project runs. You can find out more about how to do this in our documentation.
Make sure to add any additional steps you need to complete your integration and then move on to running the project for the first time.
As we need to check that the project runs, lets start it from Ouvvi by clicking onto the Start Project button.
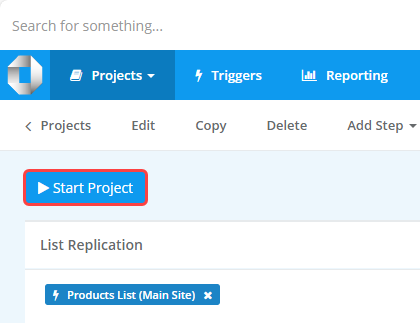
This will run any steps in the project, in this example it runs the Products List project configured earlier. Which will now update the list in the sub-site with the changes.
We can see how many records were added and updated by clicking onto the log instance.
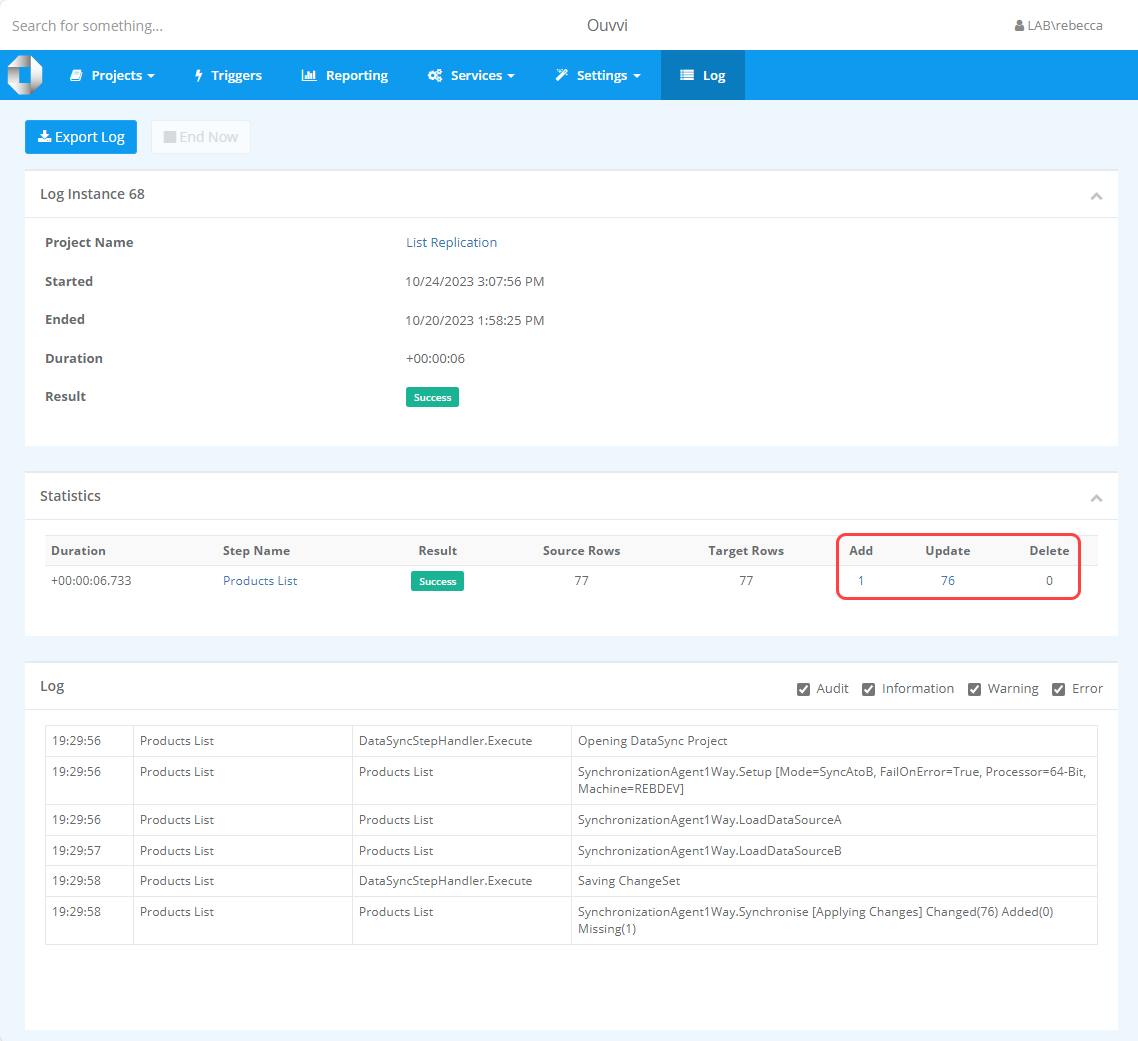
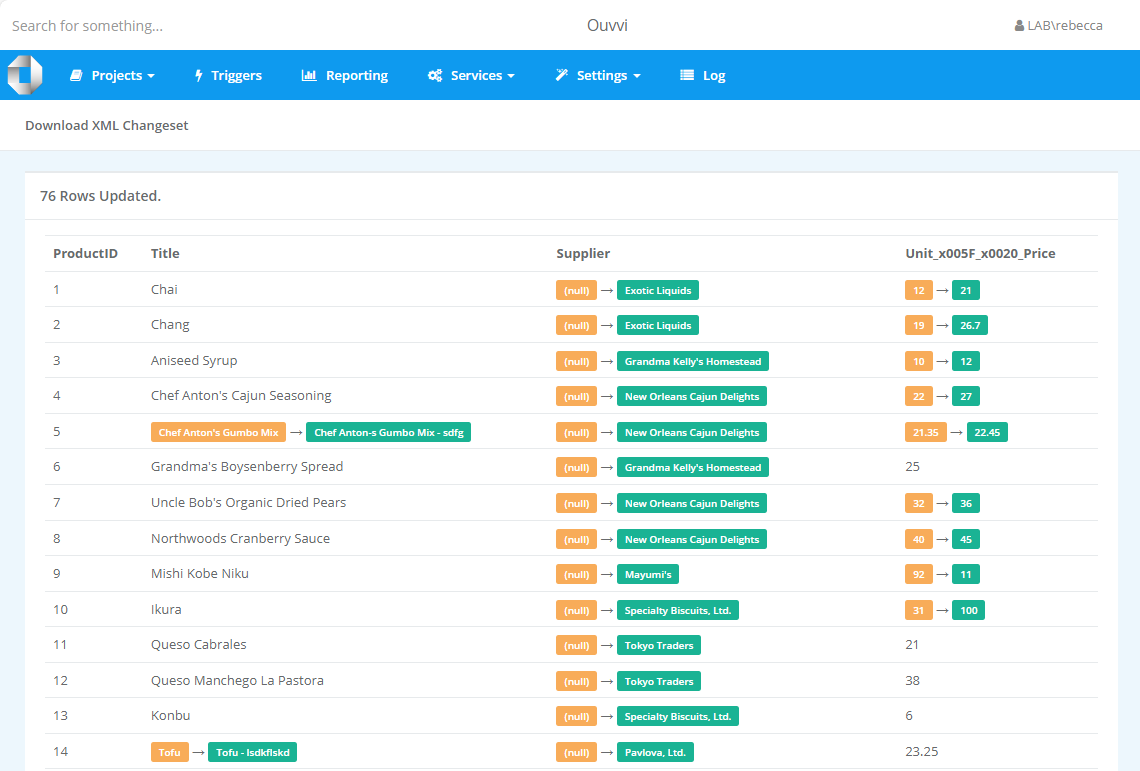
If you have enabled change sets in Ouvvi then you can preview the data that has been added, updated or deleted (if deletes are enabled) by clicking onto the totals.
Here we can see all of the updates that were made to the products list in the subsite.
As the trigger is applied to the project, this will now run whenever a change is made to the source Products list.
To find out more about how you can integrate with SharePoint using Data Sync checkout our Solutions Pages.