Adding a Connection
There are two ways to add a connection to the connection library. You can either manually add the connection or you can import an existing connection file, for example a connection file created in Data Sync locally.
Manual Connection Creation
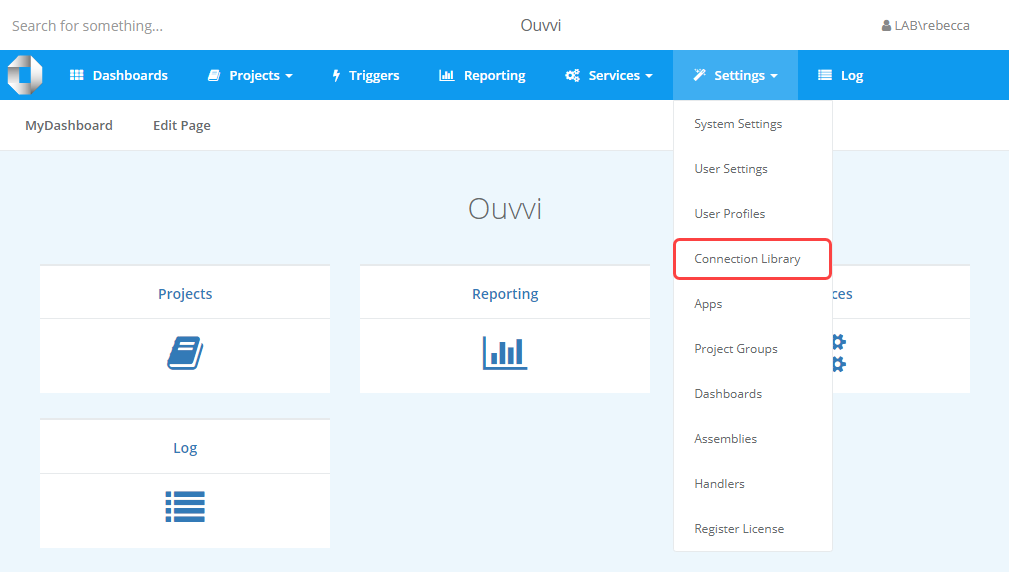
To create a new connection open the Settings menu and select Connection Library.
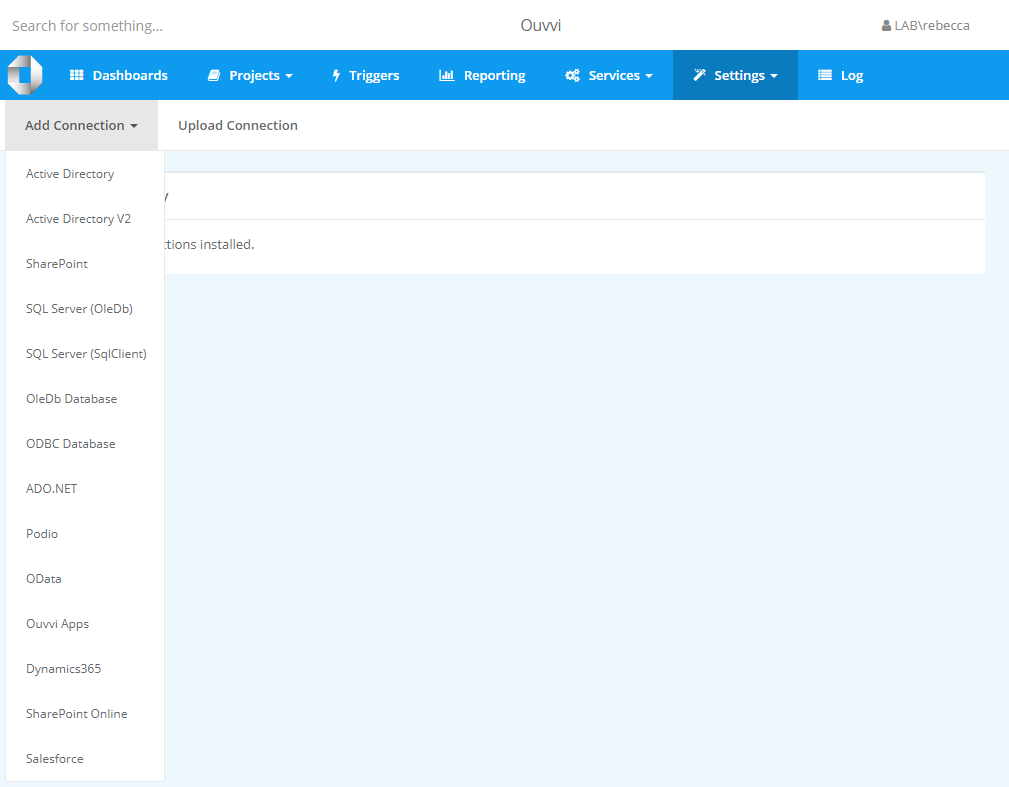
Now click onto the Add Connection button in the sub-menu and select the connection type you wish to add from the list.
This will open the connection configuration page specific to the connection type you selected.
The configuration details you need will depend on the type of connection you wish to add, please see the connection pages for details on each connection type.
Import Connection
If you already have a connection file configured, for example from Data Sync or another Ouvvi tenant, then you can import it into the connection library to save you time and effort. Additionally you can use this method if the connection library type doesn't exist in the Ouvvi connection types list.
To import a connection open the Settings menu and select Connection Library.

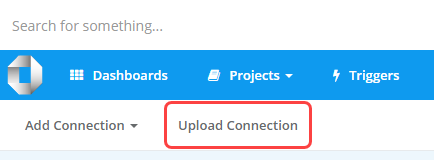
Now click onto the Upload Connection button in the sub menu.
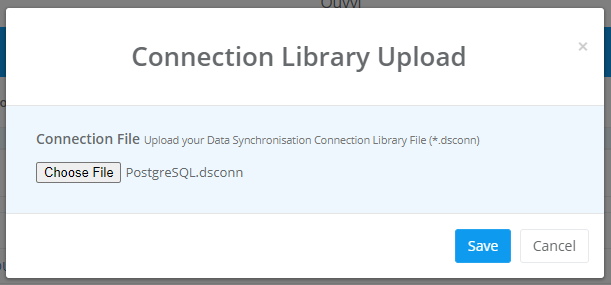
This will open the connection upload popup window where you need to click onto the Choose File button to open the file explorer and browse for your connection file.
If you are uploading a connection file from your local Data Sync registry then the default path is: C:\ProgramData\Simego\DataSyncStudio60\Registry , otherwise you can simply browse to the location your file is stored.
Click Save to upload the connection file into the Ouvvi Connection Library.
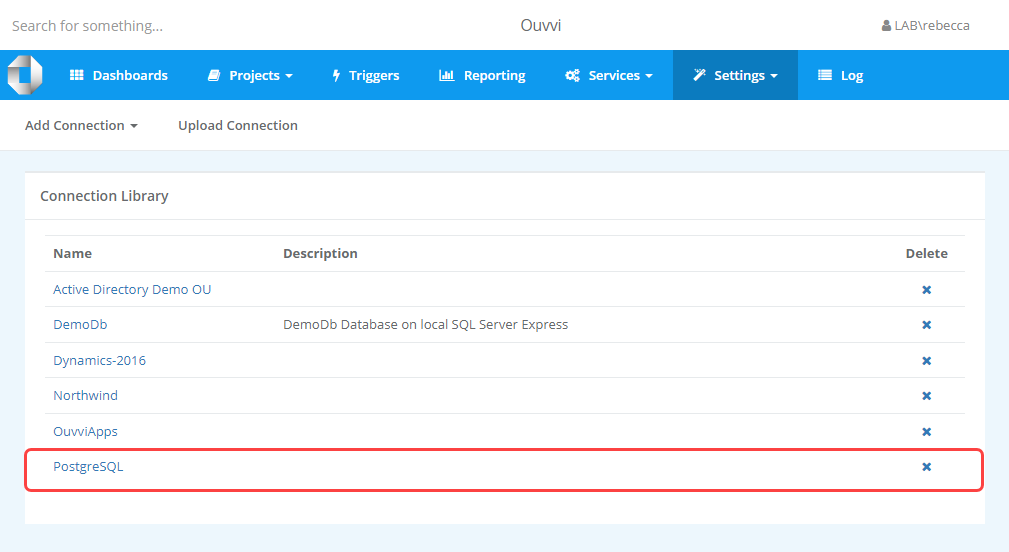
You will now be able to view the imported connection file in the connection library table, and it will be available to use in your project steps and triggers as needed.
