Users
You can have multiple users on your Ouvvi instances with read only or admin access rights. Below you will find instructions on how to add users and set the permissions.
Adding Users
To add a user open the Settings Menu and select User Profiles.
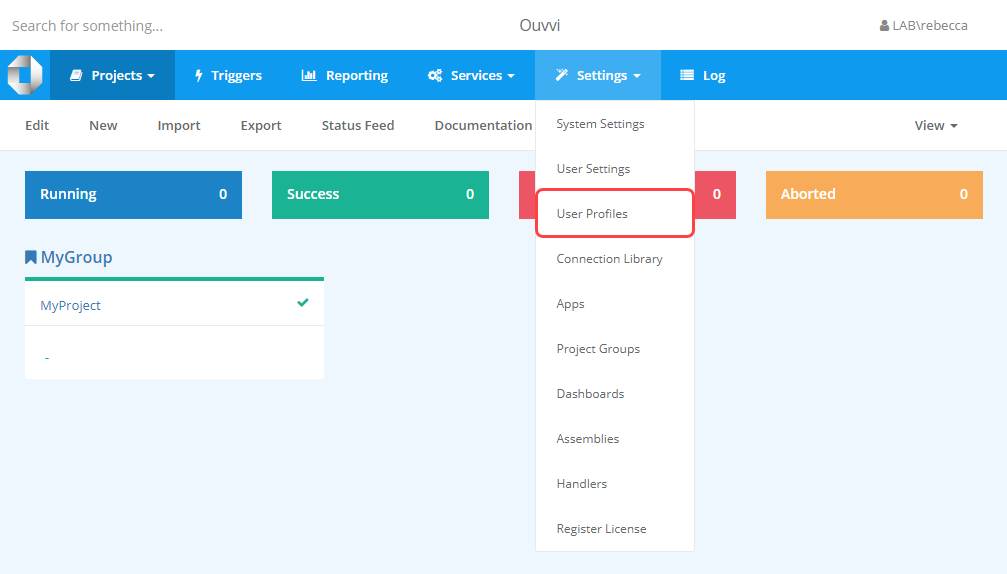
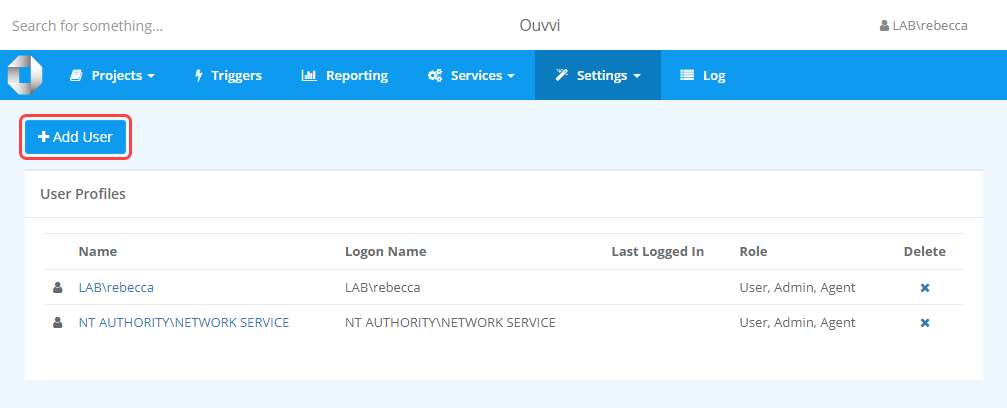
This will open the list of Users currently added to your Ouvvi instance.
To add a user click onto the Add User button.
This will open a pop up where you need to enter in the name and logon name for the user. The details you enter here will depend on the authentication type you have configured for Ouvvi.
If this user will be set as the Execution Context for a project you will need to check both the Admin and Agent checkboxes.
Windows Authentication
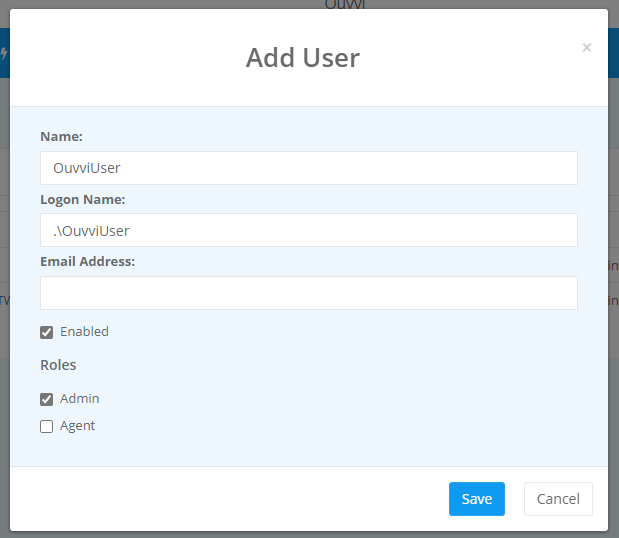
If you are using Windows Authentication (Default) then for example, say we want to add a local user called OuvviUser this would be entered into Ouvvi as follows:
Name: OuvviUser
Logon Name: .\OuvviUser
The .\ specified that it is the local machine, alternatively you can specify the machine name e.g. App04\OuvviUser.
If you want the user to be an admin make sure to check the admin checkbox.
Once you have added all the required details click Save to add the user.
You can also add domain accounts if the machine Ouvvi is installed on is domain joined e.g. LAB\Rebecca, just make sure to enter the domain name for both the name and logon name fields.
Forms Authentication
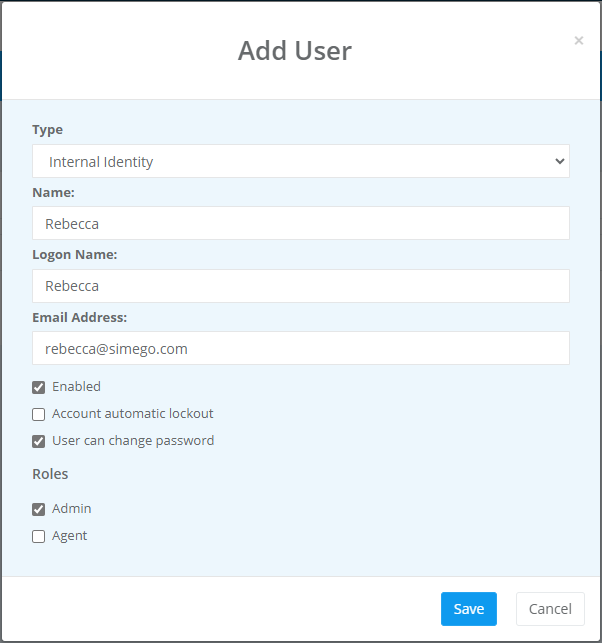
If you are using Forms Authentication, you need to ensure the type is set to Internal Identity and you would then specify the name, logon name and email address that should be used.
You can also define if the user account should be enabled, allow automatic lockout if the password is entered wrong on consecutive occasions, and if the user should be able to change the password.
If the user should have admin privileges remember to check the Admin checkbox.
Azure AD Authentication
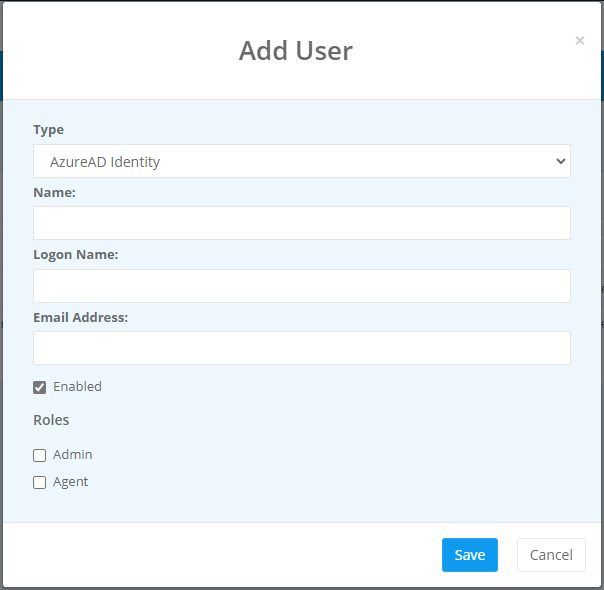
If you are using Azure AD Authentication, you need to ensure the type is set to Azure AD User and you would then specify the name & logon name for the user. This should be their email address stored in your Azure AD.
You can also define if the user account should be enabled or disabled and if the user should have admin privileges remember to check the Admin checkbox.
