Adding Steps
There are two ways to create or add a step to an Ouvvi project, which option you choose depends on the type of step you are adding and your personal preference:
- From Ouvvi - You can add any step type available within Ouvvi
- From Data Sync - You can only add Data Sync steps from Data Sync.
Each of these methods are described below.
Creating Steps from Ouvvi
To add a new Step to an Ouvvi Project, navigate to the project view page and select the Add Step button from the sub-menu. After you start using Steps the most recent types used will be listed automatically, however initially select More... to view all the Step Types.

This will open a view where you can see all of the different step types available to use. You can find the configuration details for each step type on the Step Types page.
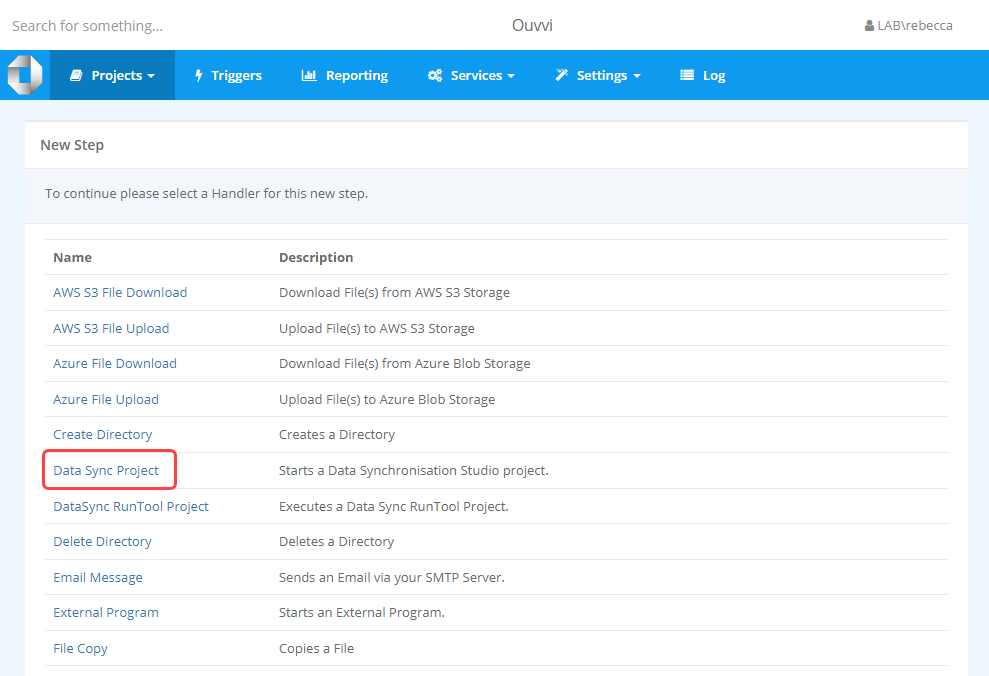
For this example we will be using the Data Sync Project step type. This is the one that you use to run Data Sync project files. Click onto the name to open the configuration page to create the step.
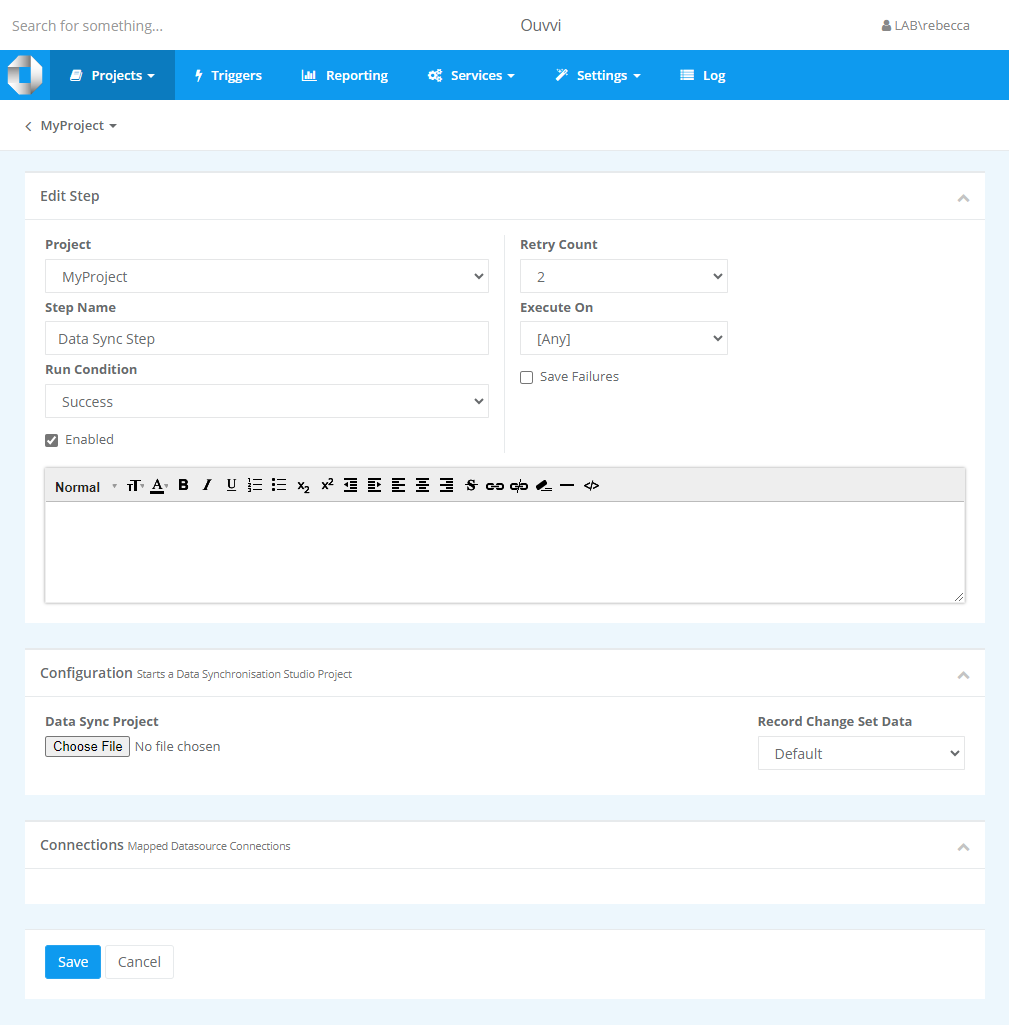
You now need to configure the step by providing a name, and optional description, the run condition and the retry count.
With Data Sync steps you can either upload an existing ** .dsprj* file by clicking onto the Choose File button and browsing for the project to upload. Or you can click Save to create the step and it will generate an empty Data Sync project. That you can then open and edit to perform the integration task you need.
Step Configuration Options
For specific step type configuration details please take a look at the page found within the Step Types documentation.
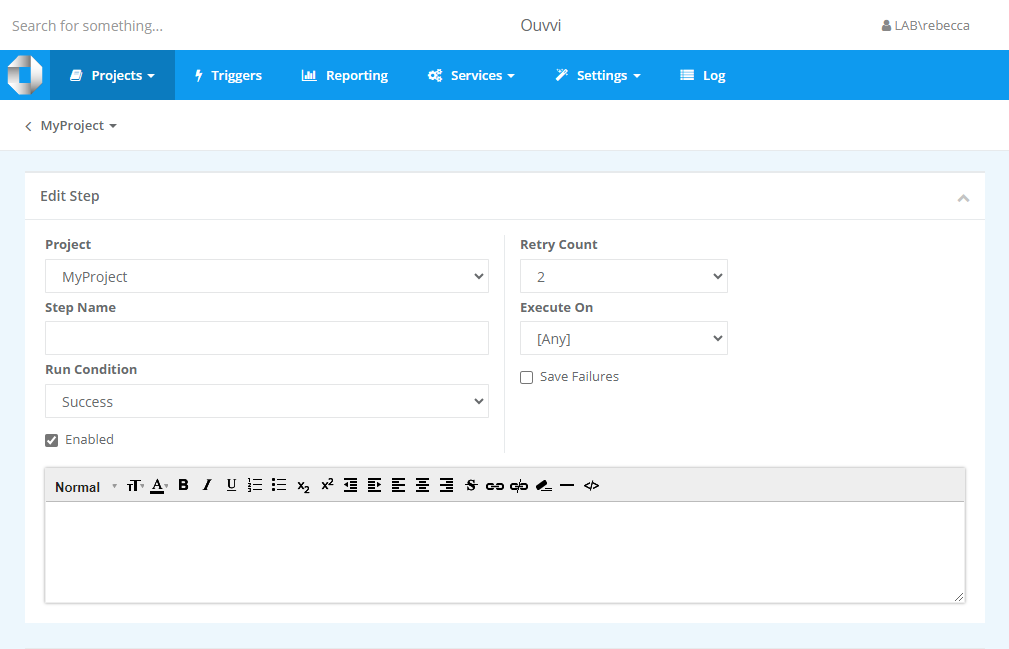
However every Step has a set of common configuration options that control how the step is processed. Each of these properties are described below.
Project
This is the project that this step is assigned to, you can move this step to another project by changing this value.
Run Condition
The Run Condition provides flow control, if a step completes successfully the Run Status is Success therefore if the next step Run Condition is either Any or Success this step will run. However if the Run Condition is Failure then this step will only run if any of the preceding step(s) returned an error and the Run Status is Failure.
Retry Count
This is the number of times this step is restarted before it is considered a failure. The default value here comes from System Settings. If it is likely to be a long running project or you do not want this step to retry then set the value to 0.
Enabled
Marks the Step as enabled in the project, if the step is disabled it does not run in the sequence.
Execute On
If you have multiple Service Agents on multiple machines you can mark this step to only run on the specified Agent. This is useful if you have a dependency on certain resources like a Step that must run OnPremise vs in the Cloud. Please see our Dependency Agent page for more information on configuring this.
Save Failures
This will cause any failure to be written to the Failure Queue table, where they can then be re-submitted to be processed. This is really only applicable in a messaging type project when the project has a stateful context value. Normal Data Sync type projects can simply be started again so by default this is normally disabled.
As an example we use this to ensure the helpdesk messages get sent. If the step fails when a response is being sent to a customer, perhaps the exchange server is unreachable at the time, then the step is added to the queue failures table and tried again until it succeeds.
Creating Steps from Data Sync
If you are wanting to quickly create and configure Data Sync steps in Ouvvi then the easiest way to do this is from Data Sync. Data Sync has the capability to connect to your Ouvvi site and allow you to create projects and steps as needed.
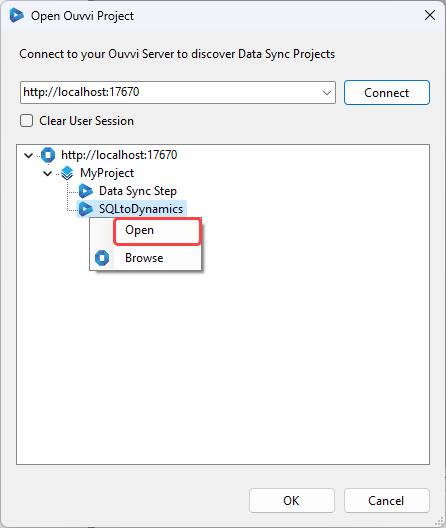
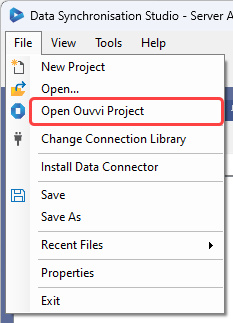
To do this you first need to connect to your Ouvvi site, this can be done by going to File > Open Ouvvi Project.
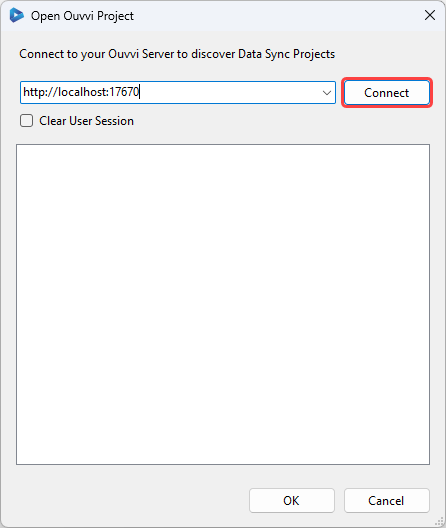
This will open a new window where you need to enter the url to your Ouvvi site into the text box and click Connect. If you have previously connected to your Ouvvi site in this way then you can select your site from the dropdown menu.
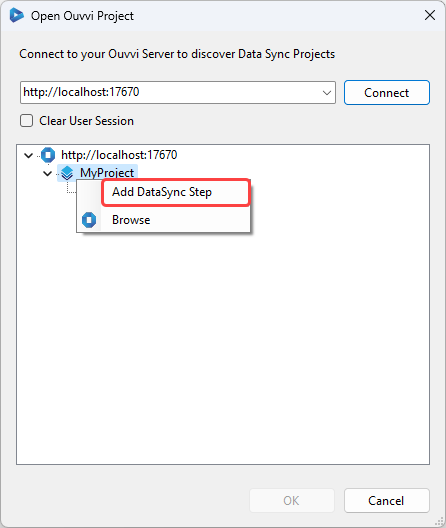
This will now list all of the groups and projects found in your Ouvvi site. Expand the tree as required to find the project you want to add the Data Sync step to. Once you have located the project, right click onto it and select Add Data Sync Step.
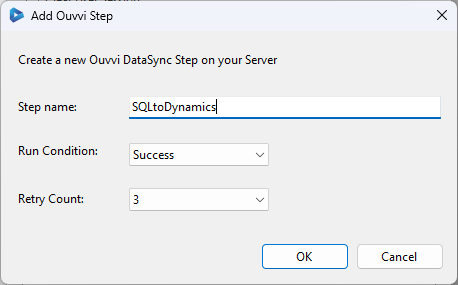
This will open a popup window where you can define the basic step details. Such as the name, run condition and retry count.
This step will now appear under the project and you can either double click onto the step or right click and select Open to open it and configure the project as needed.
