Create a New Ouvvi App
Ouvvi Apps can be created from Ouvvi or from Data Sync.
If you have never created an Ouvvi App before, you will need to create at one from Ouvvi before you can create any Apps using the Data Sync quick function.
Create from Ouvvi
To create an Ouvvi App in Ouvvi open the Settings menu and select Apps.
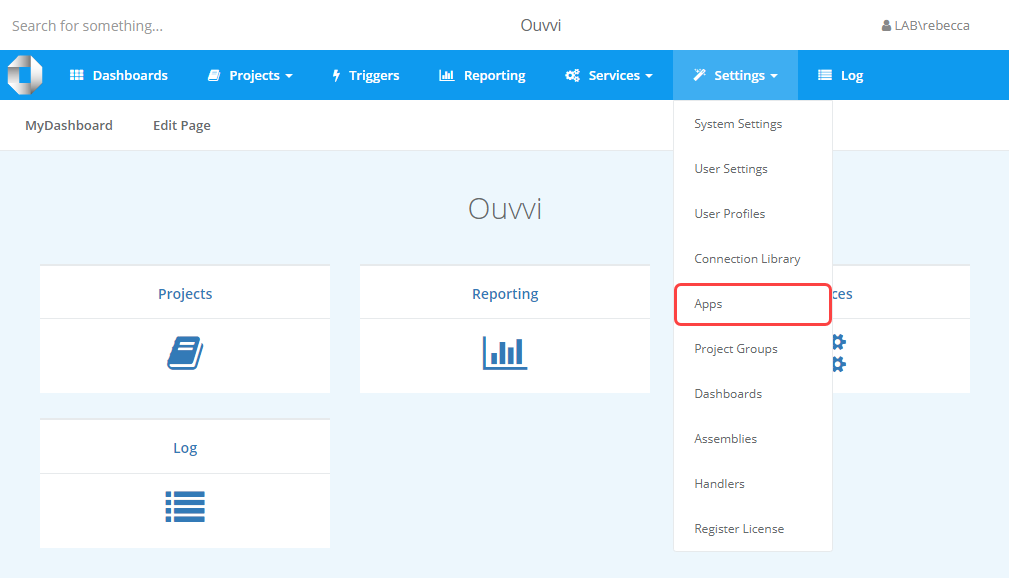
This will open the Ouvvi Apps page. If you do not currently have any apps then you can click either Add App or New in the sub menu. If you already have an Ouvvi app then you can simply click New.

This will open the app configuration page.
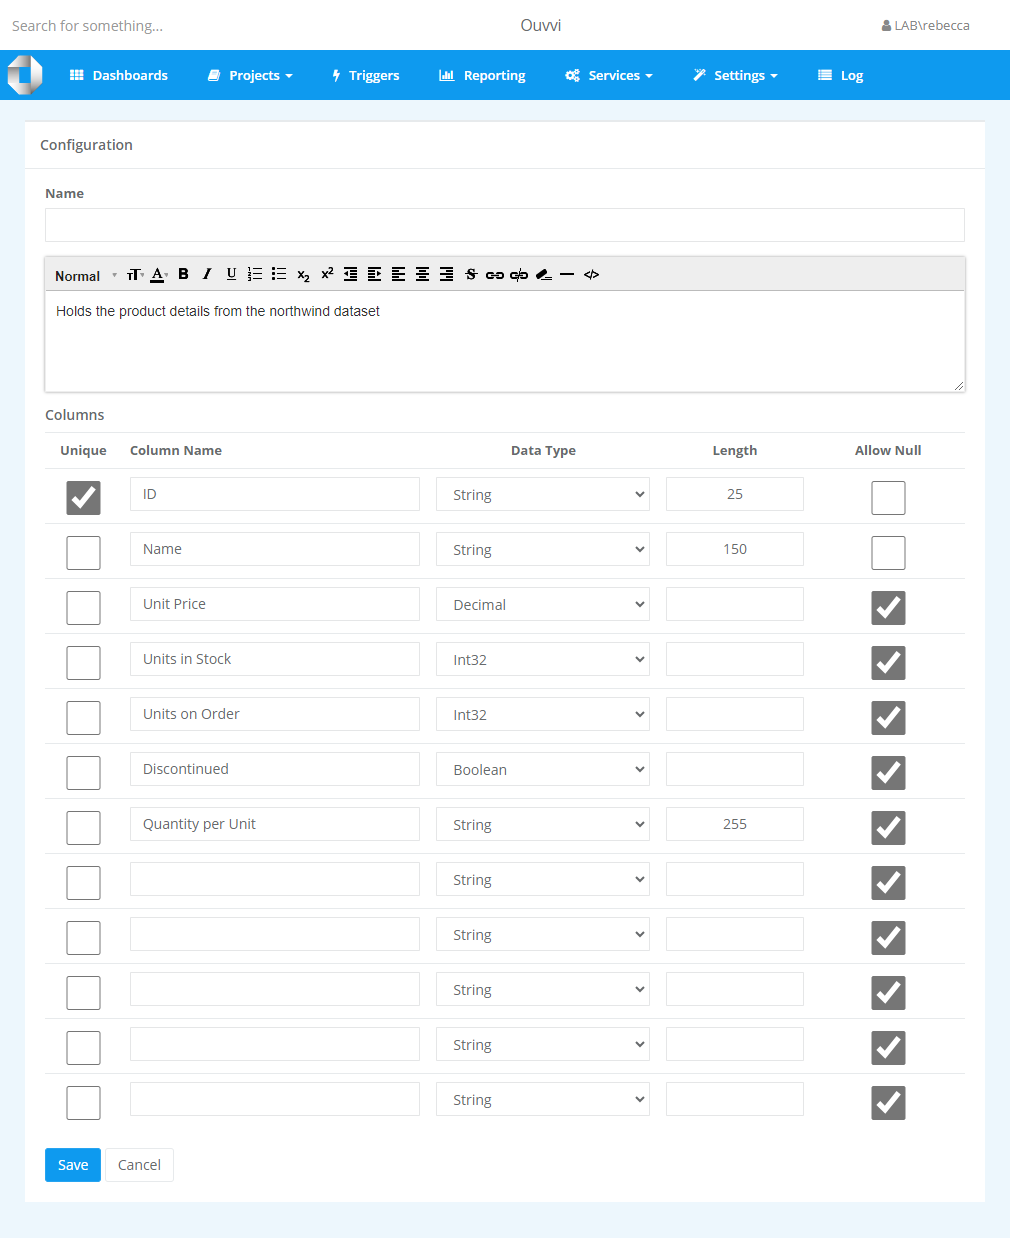
Here you need to enter a name, an optional description, and then enter the column names. Make sure to select the correct data type for each column from the dropdown list and set the length for any string columns.
To finish you need to identify a key column that should hold a unique value for each record and make sure to uncheck the checkbox so that null values are not allowed in that column. Then click Save``` to create the App.
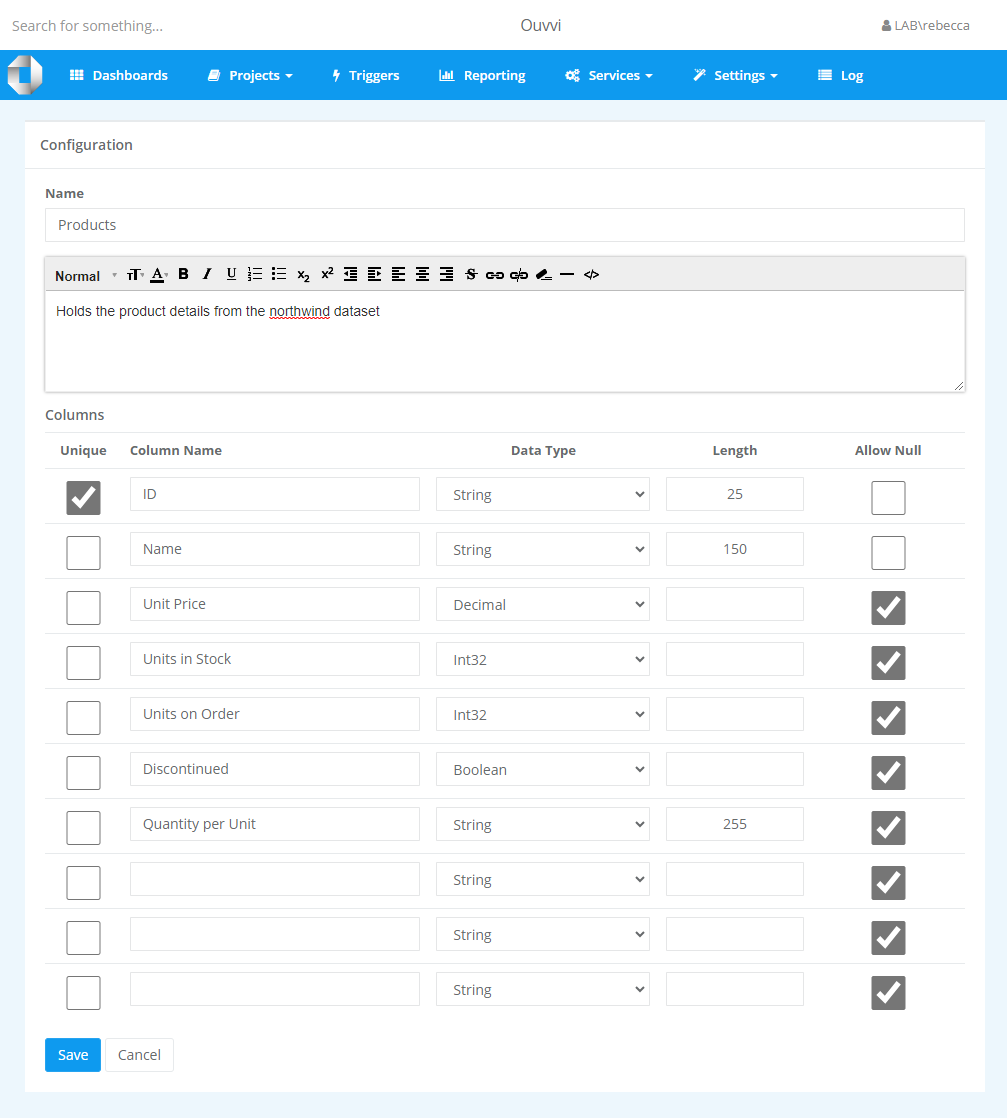
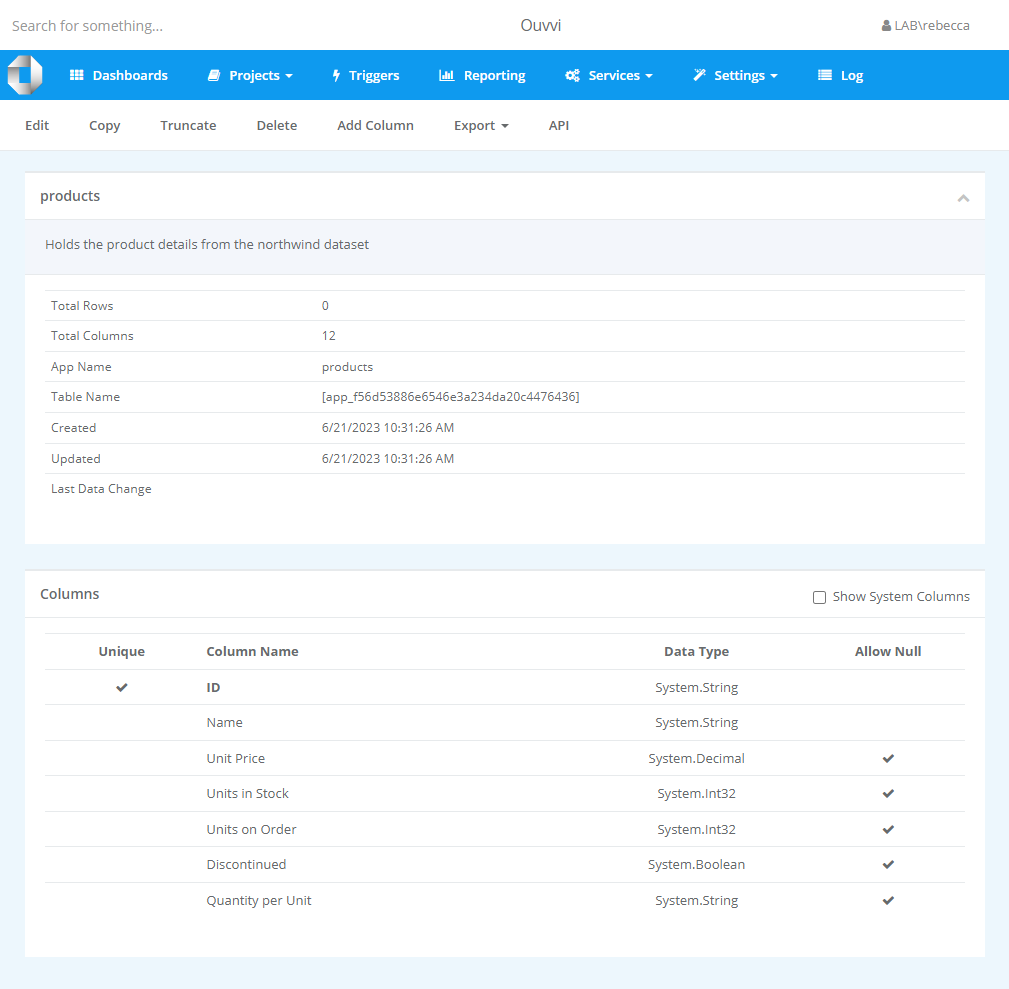
You app is now created and ready to have data synchronised to it.
Create In Data Sync
Data Sync has a built in function to create a new Ouvvi App based off of your source schema.
In order to be able to use this function you need to have saved the connection to your Ouvvi Apps to your connection library, and you need to have added the columns you want to include from your source data to the schema map.
You will need to save the connection to Apps even if you are connected to Ouvvi in Data Sync.
Below we will cover how to save the connection and then we will cover using the quick create function.
Connecting to Ouvvi Apps in Data Sync
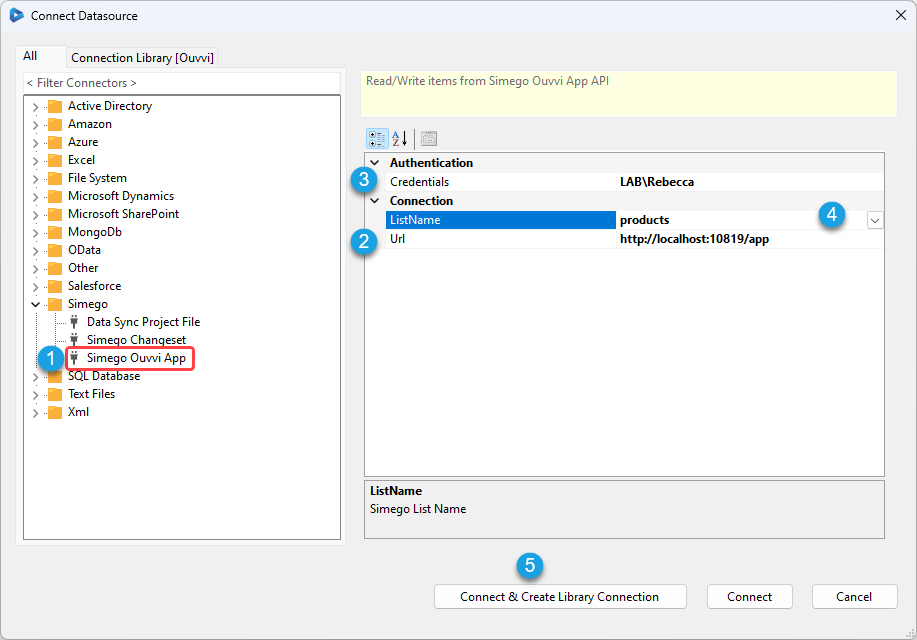
To connect to Ouvvi Apps and create the connection start by opening a new data sync project. Then open the connection window and go to Simego > Simego Ouvvi App.
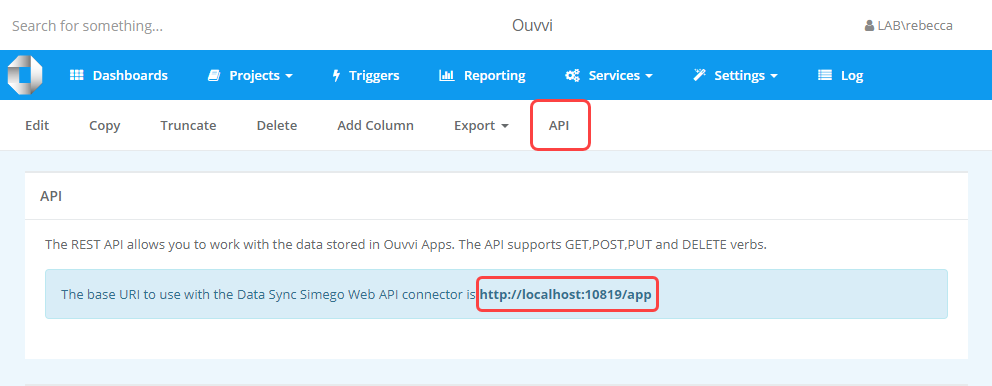
Enter in the URL to your Ouvvi App API. It should look something like http://localhost:8080/app, you can get this URL by opening an app in Ouvvi and selecting API from the sub-menu. The url will then be highlighted in the call-out in the API section.
You then need to enter in the credentials to sign into Ouvvi, and select an app from the ListName dropdown menu.
Save the connection by selecting Connect & Create Library Connection.
Once that has been saved you can refresh the connection library and you should be able to view the connection under Ouvvi Connections. From here you can access and connect to any Ouvvi Apps you have in your tenant within Data Sync.
Using the Quick Function
Once you have saved a connection to your Ouvvi Apps you can go ahead and open a new project in Data Sync.
You then need to load your source data into the data source A window, and add the columns you want to be included in the Ouvvi App to the schema map.
Then open the Tools menu and select Create Ouvvi App.
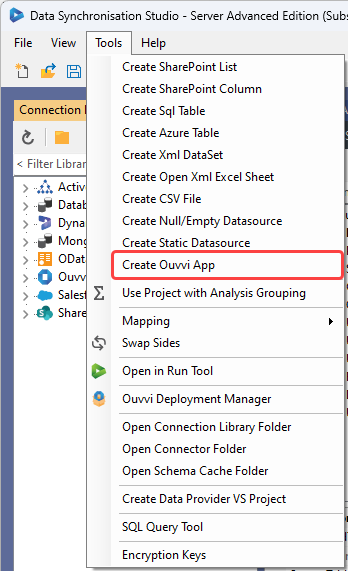
Choose your Ouvvi Connection from the dropdown list if it has not been pre-populated into the Ouvvi Connection field, and enter in a name for the App to be called. When you are done click OK to create the app.
The App will have now been created in Ouvvi, with all the columns in the schema map having been configured to match the source schema.

You can now either run the project in Data Sync to sync the data or you can save the project to run from Ouvvi later.
Copy an App
You can copy an existing app so that it can act as a template for a new app.
To do this navigate to the app you want to copy, in this example we are using an app named products. Then click onto the Copy button in the sub-menu.

This will open a new app configuration page with the description, column names and lengths all pre-configured. You can now make any changes, such as adding or removing columns, changing the data lengths etc so that it meets your needs. To finish make sure you have entered in a name for the app and click Save to create it.
