Exporting and Importing Projects
Ouvvi enables you to quickly export and import projects into your Ouvvi instances. You can use these features to create a replica environment for example when using DevOps you can export your production system and make a copy to use for development, simply changing the connection endpoints to use the correct development ones. For that use-case we would recommend that you keep the names of your connections the same in both environments and simply export and import the projects excluding the connection library.
By keeping the connection names the same the projects will automatically run without needing to be edited, as they can just request the connection details from the connection library stored in that environment (instance).
Export
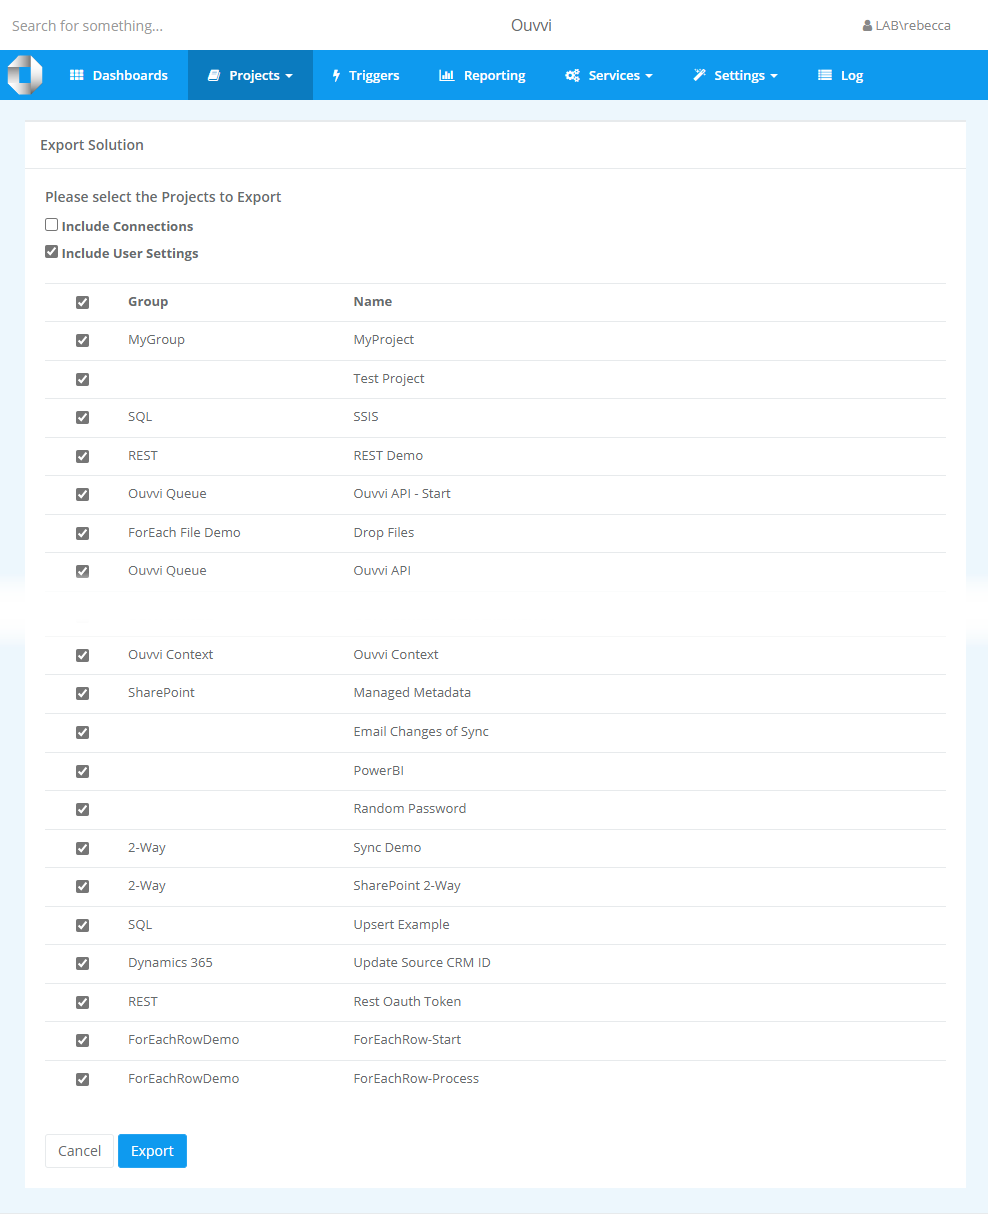
To export a project or a number of projects navigate to the All Projects view page and click Export in the sub menu.

This will open the export view where you can check the checkbox against any items you want to export. If you wish to include your connection files and user settings, please check the checkboxes for each of these. You can mark all of the projects to be exported by selecting the checkbox next to the header Groups, this will select everything in the list.
When you have selected all of the items to export click Export. This will download a solution file into your local downloads.

Import
Once you have a solution file exported you can upload this into another Ouvvi instance.
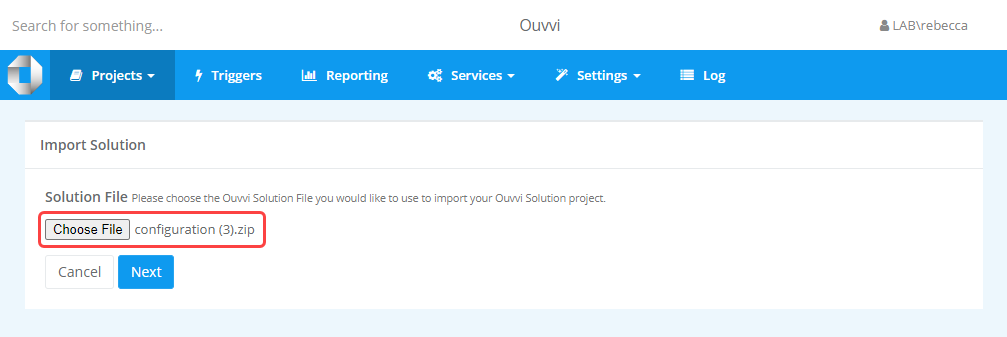
To do this open the All Project view page in the Ouvvi instance you are uploading into, and click Import in the sub menu.

This will open the import view where you can select a file to import. Click onto the Choose File button to browse for your solution file in your the file explorer. Once you are done click Next to load the file.

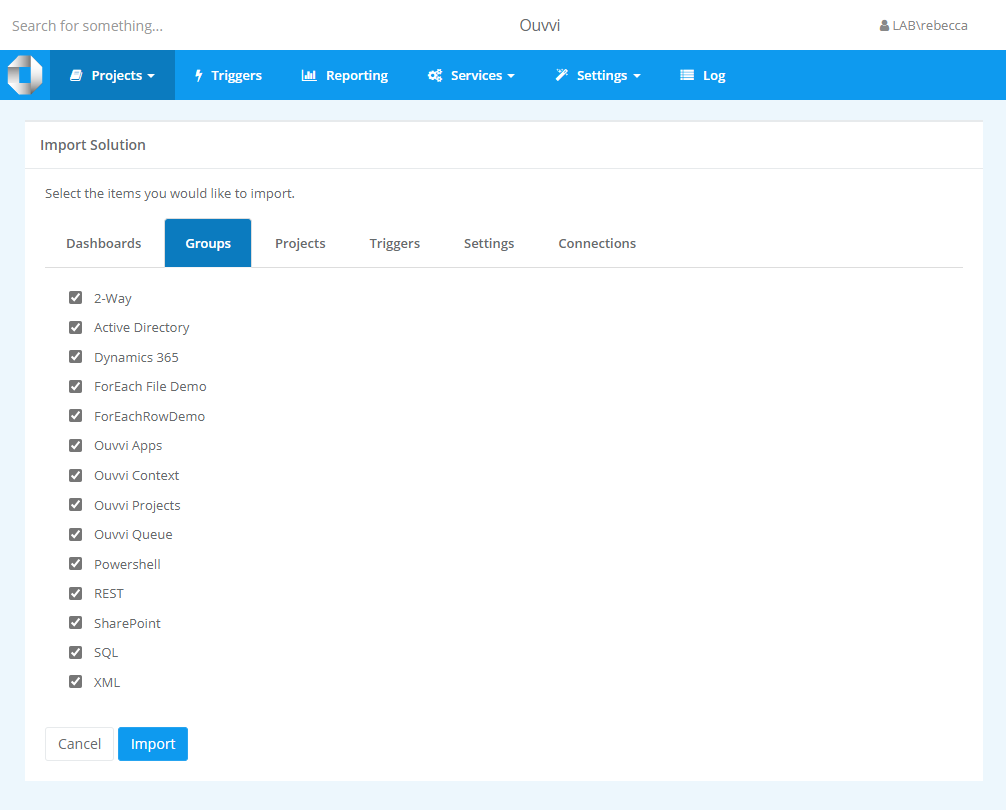
This will load the various sections within the solution file into a tabular view. Click through the tabs to check everything is included and correct. You can exclude items from the import by unchecking the checkbox. When you are ready click Import to load the selected items.

Your files will have now been loaded and will be visible on their corresponding pages. I.E. Projects on the Projects page, Groups listed under projects and visible in the Groups Table etc.
You can repeat these processes as many times as you need to.