Changing the Colour of your Ouvvi Instance
When you create your Ouvvi environment you may wish to customise your instances so that they can be easily recognisable at a glance.
This might be done to distinguish between DEV/PROD/UAT environments, so that users can be sure they are working on the correct environment.
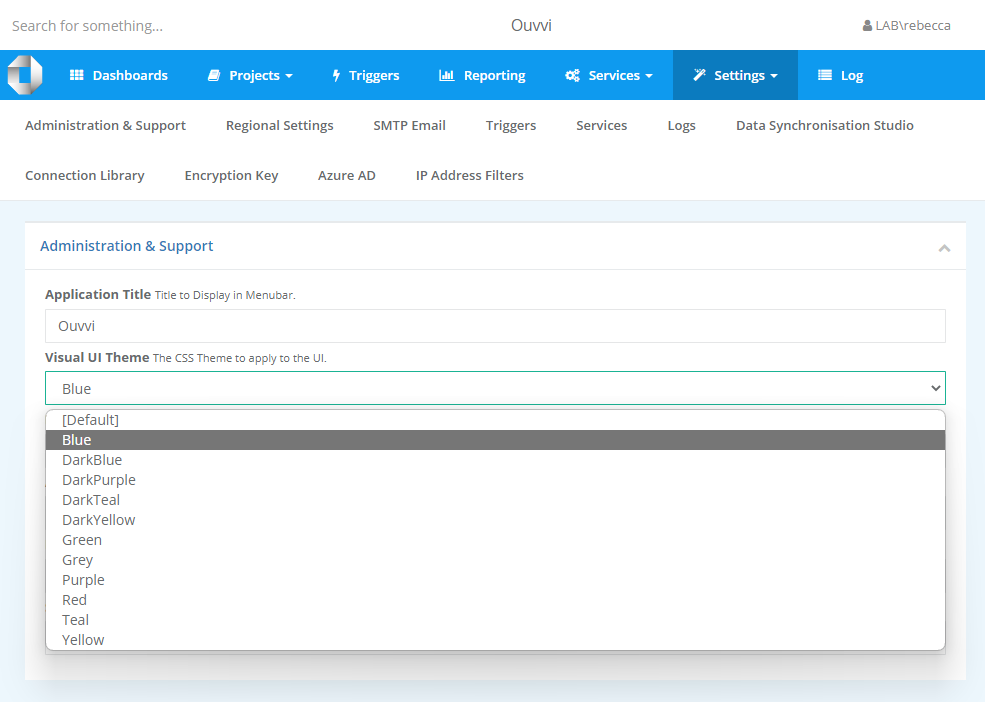
To change the colour of the instance open the Settings menu and select System Settings
Now go to the Administration & Support section and find the Visual UI Theme property. Here you can select the theme you wish to apply from the list.

To apply the theme and save your changes, scroll to the bottom of the page and click Save.
Create your own theme
You can also create your own theme to use with Ouvvi.
To do this you can either use the exiting theme files as a template or create your own.
If you create your own theme file you can add it to the file to the tenant folder and it will appear in the theme list.
You can find the existing theme files in the tenant folder.
By default this is found in your main drive folder under OuvviTenants.
You then need to navigate to Web > Content > Theme and the css files will be listed. For example the path might be C:\OuvviTenants\OuvviDefault\Web\Content\Theme