Create a Dashboard
To create a Dashboard to hold your important projects you need to start by opening the Settings Menu and selecting Dashboards.

This will open the Dashboard page, where you need to click onto the Add Dashboard button.

This will open a popup where you need to enter in a name, an optional description, and decide if you want the default view to be a list or card view for this Dashboard. When you are ready to create the Dashboard click Save.

This has then been created and added to the Dashboard table and is ready to have projects added to it.

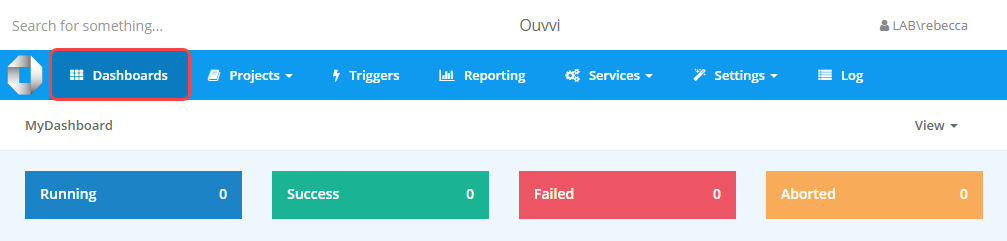
Dashboards will now have a shortcut option in the main toolbar so you can quickly navigate to this page. If you have more than one Dashboard multiple links will appear in the sub menu once you click onto Dashboards.
Adding a Project to a Dashboard
To add a project to a Dashboard open the Ouvvi project you wish to add and select Edit from the menu.

This will open the edit project view and you should be able to see an option titled Dashboard.
Click onto this and select the dashboard to want to add the project to from the list. Once you are finished click Save to add the project to the Dashboard.

You can now click onto the Dashboard item in the toolbar, and you will be able to see the project has been added to the Dashboard as expected.
