Creating a New Group
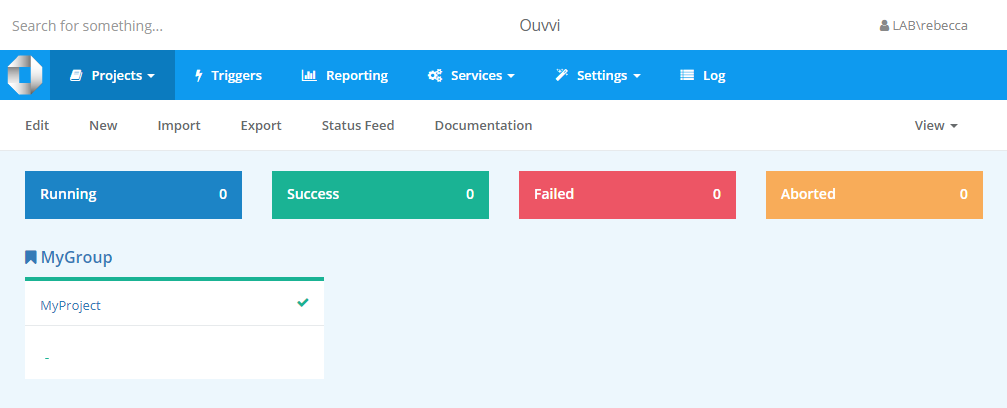
To get started with grouping you first need to create a group to hold your projects. You can add as many groups as you like to make your categorisation work for you.
To create a group open the Settings menu from the toolbar and click onto Project Groups.
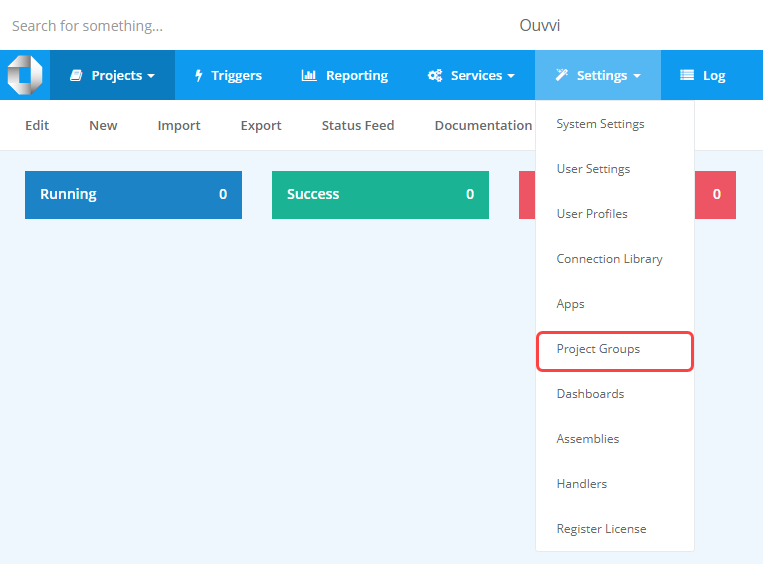
Then click the Add Project Group button.

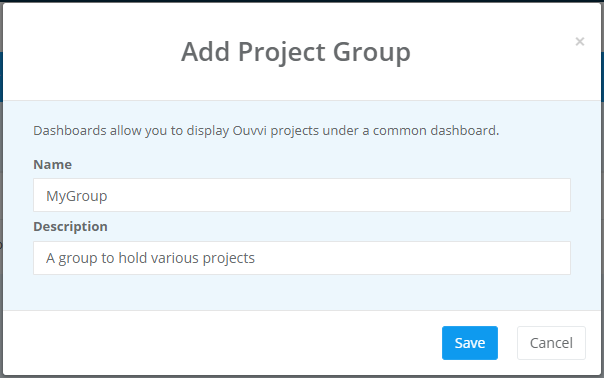
This will open a popup window where you need to enter a name and optional description for the group. Click Save when you are done to create the group.
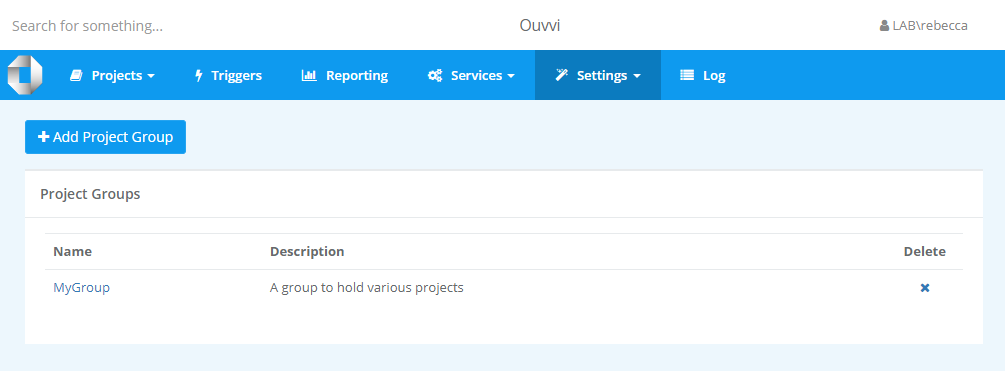
This group is now ready to have projects added to it and wil appear in the Project Groups table. This group will also appear in the Projects menu list for quick navigation.
Adding a Project to a Group
To add a project to a group start by navigating to the project you want to add and click Edit in the project menu bar.

In the project edit view there is an option titled Group Name. Click onto the dropdown and select the group you want to add the project to from the list.
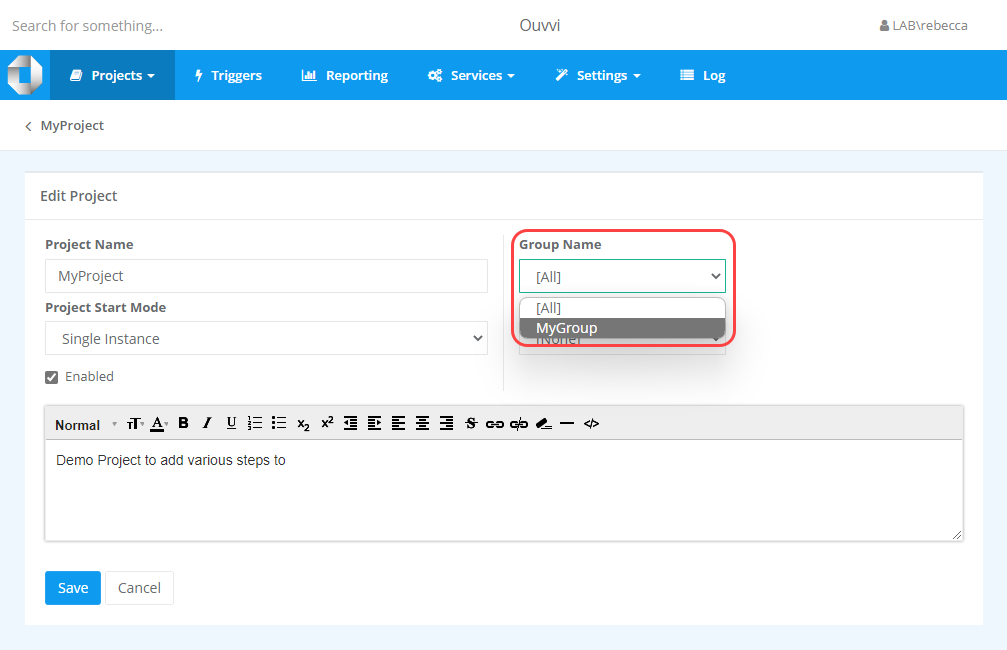
Once you are finished click Save and your project will now be available under that group.
