Ouvvi Solution File Import
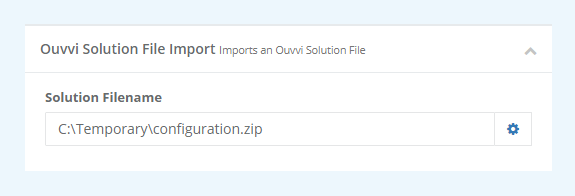
Imports an Ouvvi Solution File and is useful when using Source Control will Ouvvi.
To add this step you need to select Ouvvi Solution File Import from the list. Then enter in name for the step and enter in the path to the solution zip file.

Using with Source Control
If you are wanting to use source control with your Ouvvi site, for example via git, then you can follow the steps described below.
1 - Export and Load into Source Control
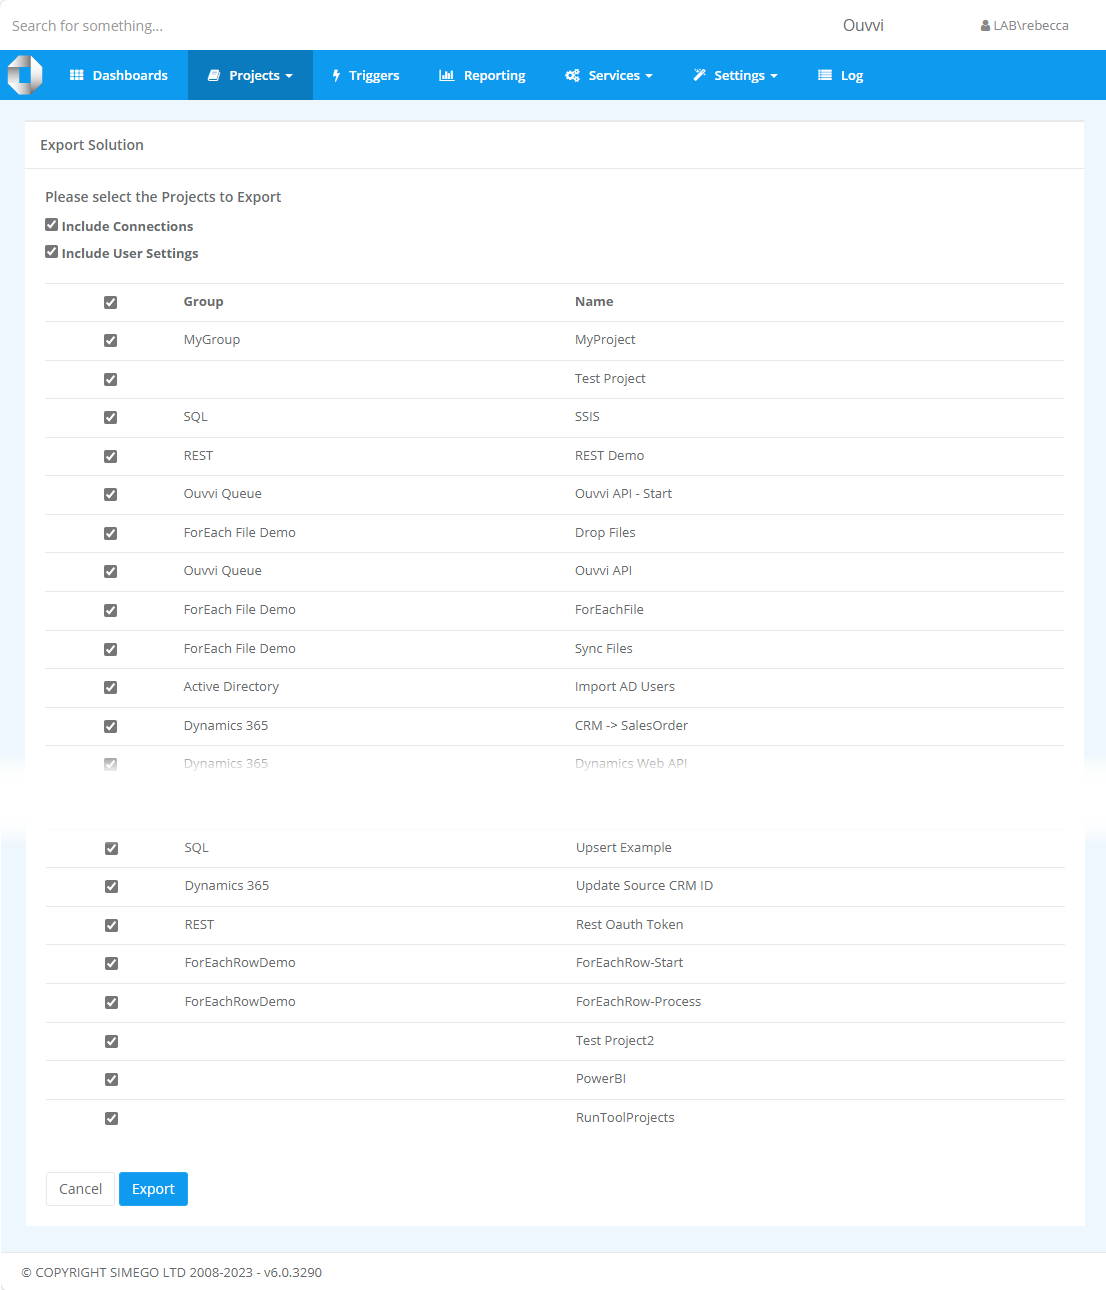
To get started you need to export your Ouvvi instance to a local location using the Export option within Ouvvi. Then add this to your preferred source control.

2 - Edit Project Files and Connections
You can then edit the project files and connection files found within the solution folder locally as needed. The changes will be kept track of within your source control system as you would do with any other project.
3 - Pull the Changes and Apply the Updates
In Ouvvi you will want to create a project to manage the getting the updates and applying the changes.
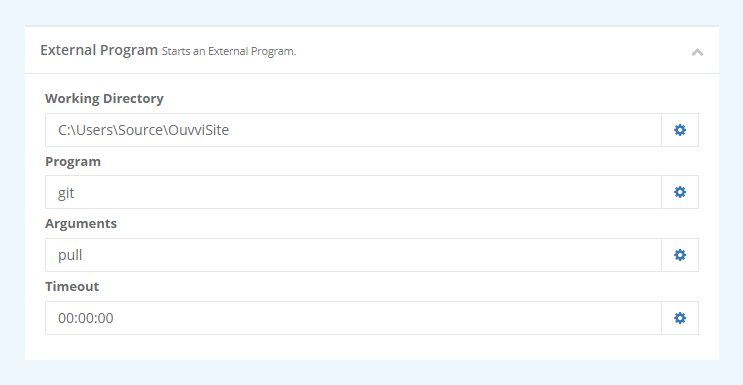
Within this project you first want to add a step to pull the latest changes on the main branch. For example you can use the external program step to call the git.exe and pull in the latest updates.

Then you need to add a Ouvvi Solution File Import step to pull in the solution folder. This will add the modified files from the solution folder you point the step to, which should be the same one you are tracking within the source control system.

If you find an issue in a project from your import, you can view the change history of each step and revert it back to a previous version by using the history button within the step view.
4 - Run as Required
You can then run this project as needed to update your Ouvvi system. This allows developers to develop the Data Sync projects locally and once the project is configured correctly, it can be pushed to the main branch and the changes deployed into the Ouvvi site.